
The WELCOME will take you through the steps to set up a CodeIgniter application and explain some basic CodeIgniter concepts. We will download the CodeIgniter files, set them up in MAMP/XAMPP, and use CodeIgniter's Welcome controller to display a view.
You can open a completed version of the project in your browser here.
If you want to download completed versions of the PHP scripts for this project, you can find them here.
This project has only a few steps:
- Download the CodeIgniter files and put them in you project folder.
- Examine the code for the Welcome controller
- Have a look at the welcome_messages.php view.
- Test the project to see whether everything is working.
Once The WELCOME Project is built, we will start convert it into a new project.

Project Set-up. As usual, set up a directory in the htdocs folder to hold your project. I recommend naming it n413_welcome.
Unzip and open the downloaded CodeIgniter-v3.1.11 folder. Copy all the files from the CodeIgniter folder into your project folder.
That's it. There are other a steps for more complex projects that need database connections, etc., but this project doesn't need any of that.
The structure of the CodeIgniter files and directories is important, so take a moment to have a look. The top level directory, which sits inside your project folder, contains the "index.php" file which starts eveything off. There's not anything you need to change in there just now, but if you are curious, check it out. There are a few variables you might set to define whether you have a development project or a production project. You can set the level of error reporting, and you can set various paths to parts of the project if you need to customize anything.
You will see some miscellaneous files for licensing and read-me's. A couple of files for composer and github, and a directory for the user guide and the system. This "system" directory is highly important, but there is really nothing you will need to work with in there unless you become a seventh-level master. You would need to replace the system folder if you wanted to change the CodeIgniter version of your project. Just overwrite it, and you have a new version.
This top-level directory is where you will put assets like images, CSS files, and Javascript files. Later, we will add that folder and call it "assets", but we don't need it yet.
The main event here is the "application" folder. This folder holds the models, controllers, views, and a few other items. So open it up and have a look inside. There are lots of folders here, but only four that you will need to interact with:
- config
- controllers
- models
- views
The config folder is always important at the start of a project. Have a look at it now. You will set up which libraries (database, session, etc.) you want to have autoloaded in "autoload.php". The next file to notice is "config.php". You will set up "base_URL"s for project links here. Projects with database connections will configure those in "database.php". But for now, let's look at "routes.php".
Look at the last few lines of "routes.php", and you will see an associative array called $route" with a "default_controller" key. The "default_controller"value defines which controller is called if someone comes to your site just by using the path to "index.php".
(routes.php)
...
$route['default_controller'] = 'welcome';
$route['404_override'] = '';
$route['translate_uri_dashes'] = FALSE;
...
CodeIgniter is designed to use a system of URL "paths" that follow this pattern:
<path to project directory>/index.php/controller/method
The portion of the URL after "index.php/" looks like a directory path, but it is actually a reference to a controller. When the URL is called, the controller looks to see if it has the "method" (object-oriented terminology for "function") contained in the second "segment" of the URL. If there is no second segment in the URL, the controller runs a method (function) named "index".
If no controller is supplied to the top-level "index.php", it will run the controller specified in $route["default_controller"]. This is usually the "Home" page for the site. In this case, it is the "Welcome" controller.The Controller. Go to the controllers folder and open "Welcome.php" If you are new to object-oriented PHP, you are looking at a "class". A class has data and methods (or what would otherwise be called "functions"). The first line of the script is not part of the class, but is designed to prevent users from calling the file directly. The class definition begins with the keyword "class".
The class name is "Welcome", and the capitalization of the first letter is important. You should also notice that the first letter of the file name, "Welcome.php" is capitalized the same way. This is required. Also notice that the class "extends" the "CI_Controller" class. There is much more code behind the scenes that you don't see (and happily, you don't need to see.
(Welcome.php)
...
class Welcome extends CI_Controller {
...
One feature missing from Welcome.php is a "constructor" function. The constructor function runs when the class is initiated, and prepares the class to be used. With CodeIgniter, the constructor function also "autoloads" libraries that are set up in the "autoload.php" configuration file. However, this class is simple enough that the constructor funtion is not needed.
The "index" method is the default method for the "Welcome" class. It looks like an ordinary PHP function, except that it has the keyword "public" in front of the function keyword. Methods in PHP classes must be declared as either "public", "protected", or "private". Public functions can be called from outside the class, but protected and private functions can only be accessed from inside the class.
(Welcome.php)
...
public function index()
    {
        $this->load->view('welcome_message');
    }
...
The "index" method uses the "$this" reference (a reference to the current class) to access the "load" class, which has a "view" method. These are all structures in that unseen code we don't need to look at. There are many capabilities built into the controller class that give it a lot of power. All we need to understand is that we are loading a view. It is assumed that the view will be found in the "views" folder, and will have the file extension ".php". The view method can have a second argument that passes data to the view, but we will not use that option here.
Note: The odd-looking arrow operator ("->") is the equivalent of the dot operator (".") in Javascript. PHP uses the dot for string concatenation, so the arrow is the way PHP indicates an object property. There is a similar operator ("=>") used for assigning array values.
The View. Go to the "view" folder and open "welcome_message.php". The view looks more like the classic PHP file we have seen already. It has a mix of HTML, CSS, Javascript, and PHP. Views will be structured to display in the browser, with a <head> section, <style> tags, and the usual features you would expect to see. Data passed to the view from the controller is available to the PHP scripts, and views can be split into sections (such as header, footer, etc.) to avoid redundant coding.
Unlike controllers and models, views are not classes, and do not have special requirements for capitalizing names, etc. They also do not have the special structure of the classes. We do not have any models in this example, but models are classes, and must follow the same format that we see in the controllers.
Try it! Point your browser to the project folder and see the result. It should look like the screenshot you see below.
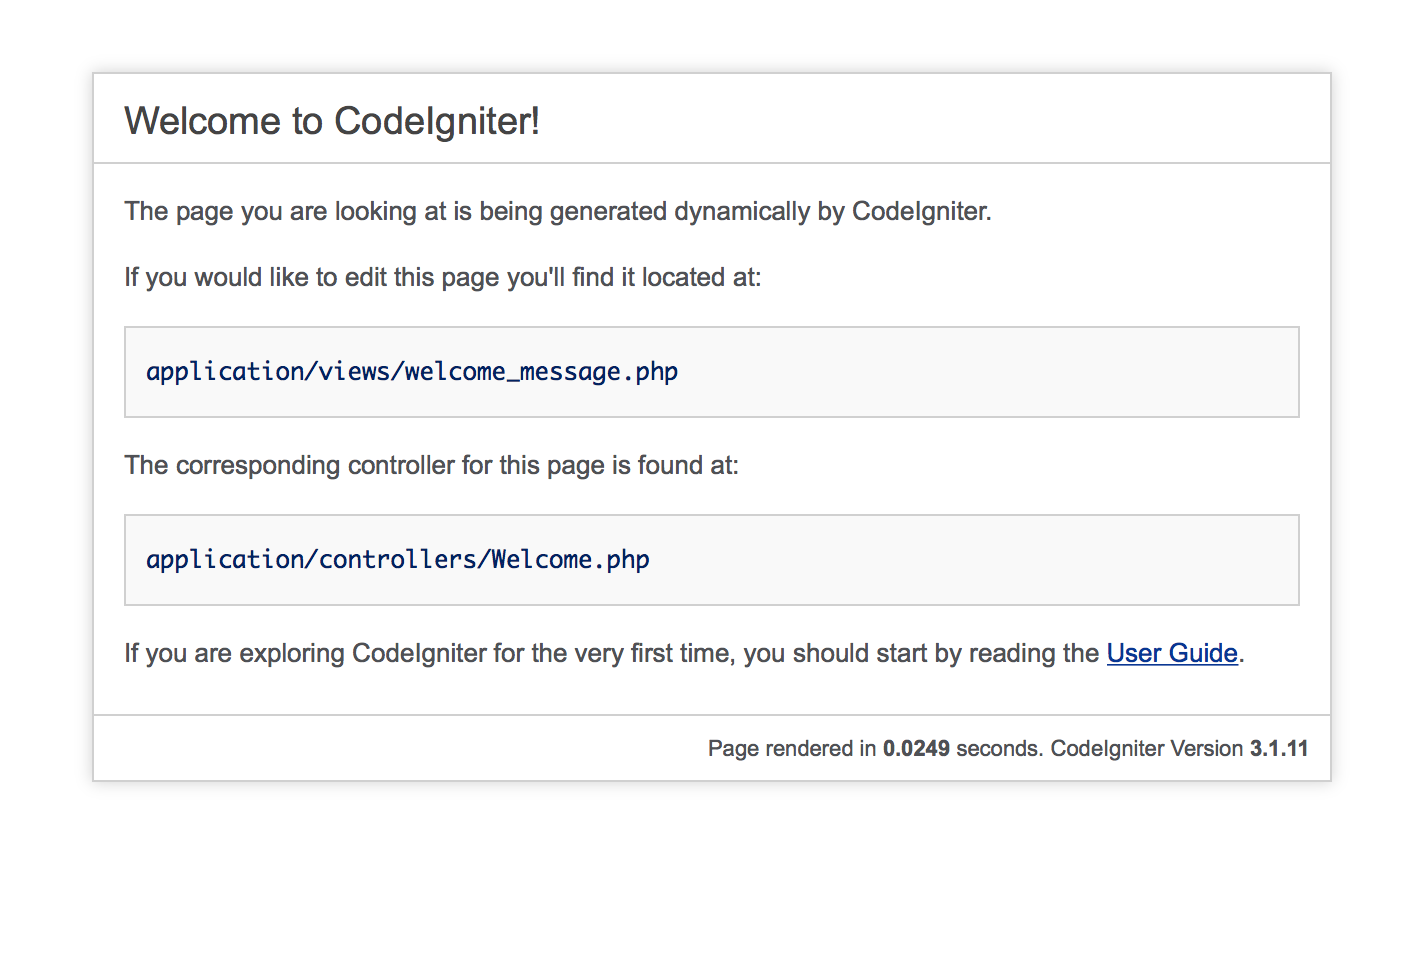
If you have trouble, check to be sure your MAMP/XAMPP server is running.
Contratulations! You now have a working CodeIgniter installation. Now let's start building some JAMS!