Revised January 2023
The INSTALL will take you through the steps to set up a new WordPress site. We will download the WordPress files, set them up in MAMP/XAMPP, and use the famous WordPress 5-minute Install to get things up and running.
This project has only a few steps:
- Download the WordPress files and put a copy of them in your project folder.
- Set up an empty database for the WordPress site.
- Start the Install process.
- Log in to the WordPress adminstrative interface.
Project Set-up. As usual, set up a directory in the htdocs folder to hold your project. I recommend naming it n413_wp.
Download the WordPress files at WordPress.org. Keep the original download package in a separate folder on your computer. Copy the files into your project folder. (Just the files, not the WordPress folder itself.) When you start a new project, you should always begin with a fresh set of the WP files. Keeping your own WordPress file repository will save you time later.
Database. Be sure MAMP or XAMPP is running and open phpMyAdmin. From the the server level of phpMyAdmin, select the "Databases" tab and create a new database. Name it the same name as your project: n413_wp. Don't add any tables, just leave it empty for now.

Install. In a browser window, enter the URL for your project directory. For MAMP users, this will be:
http://localhost:8888/n413_wp
For XAMPP users, this will be:
http://localhost:/n413_wp
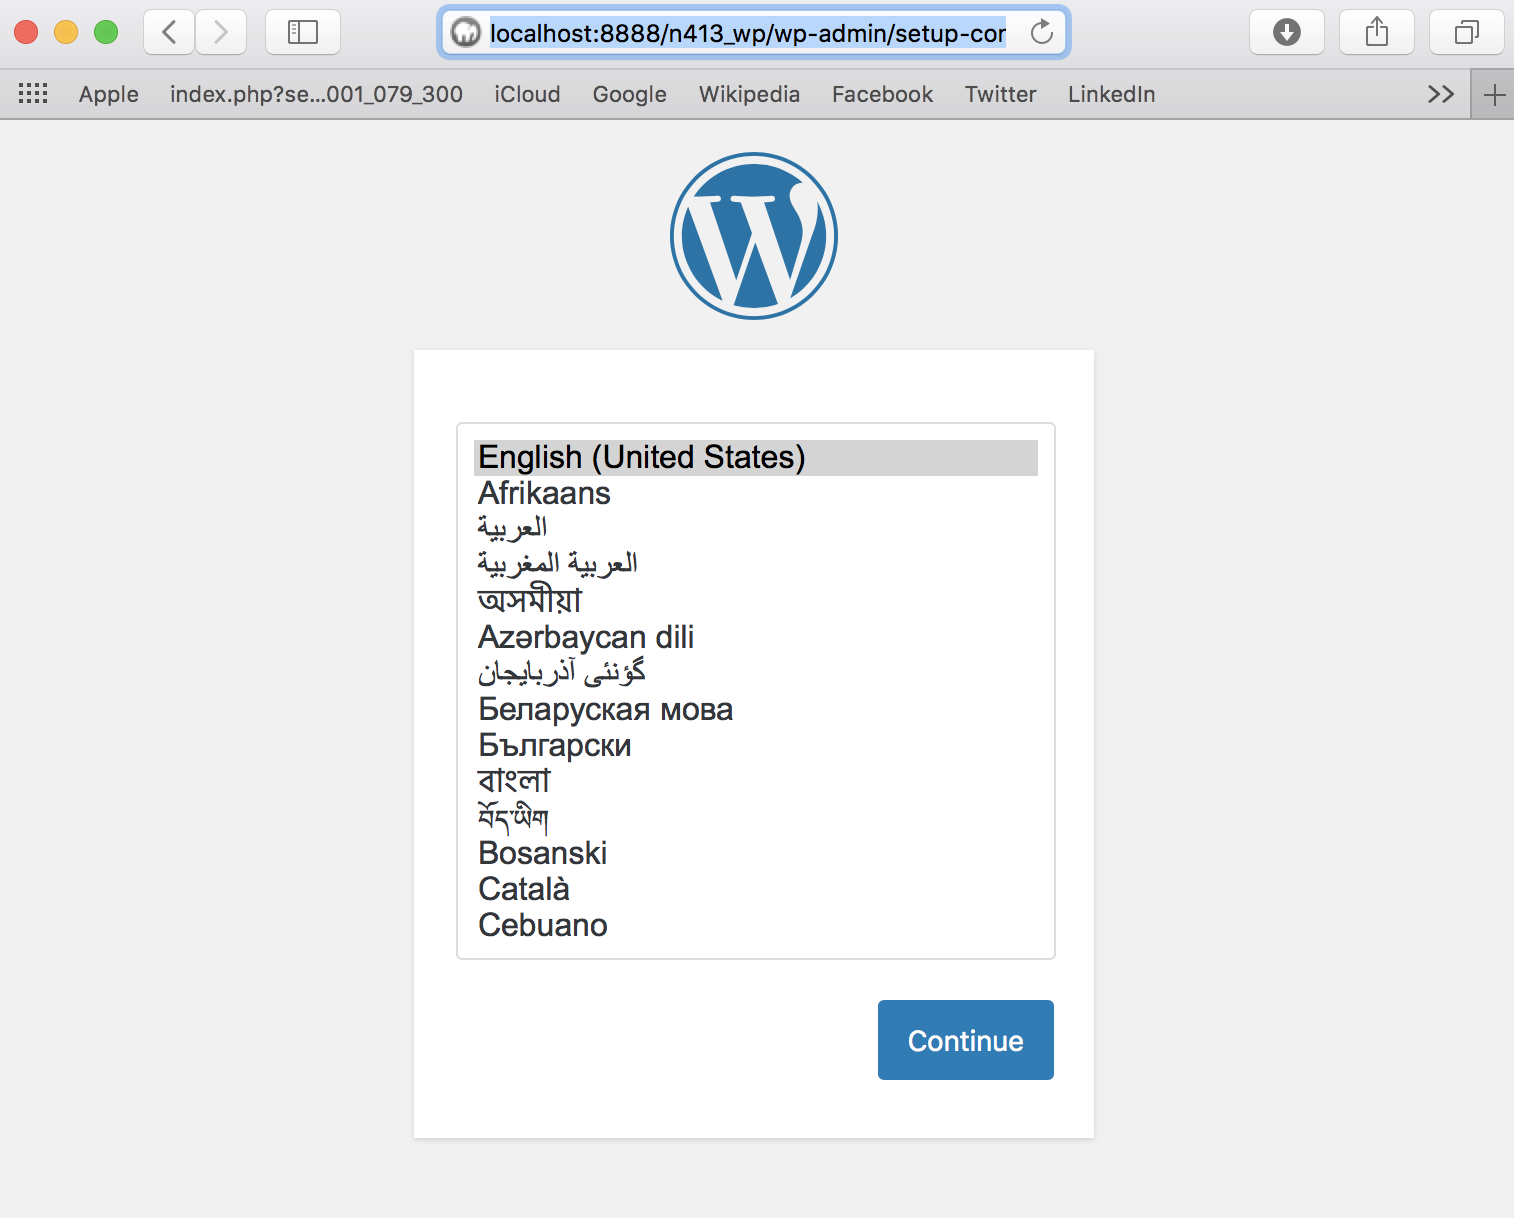
Once the WordPress installer loads, you will see a dialog box for selecting your language. Select a language from the list.
Next, you will see an informational screen. It will ask you to gather your database credentials. Click the "Let's Go" button and continue.
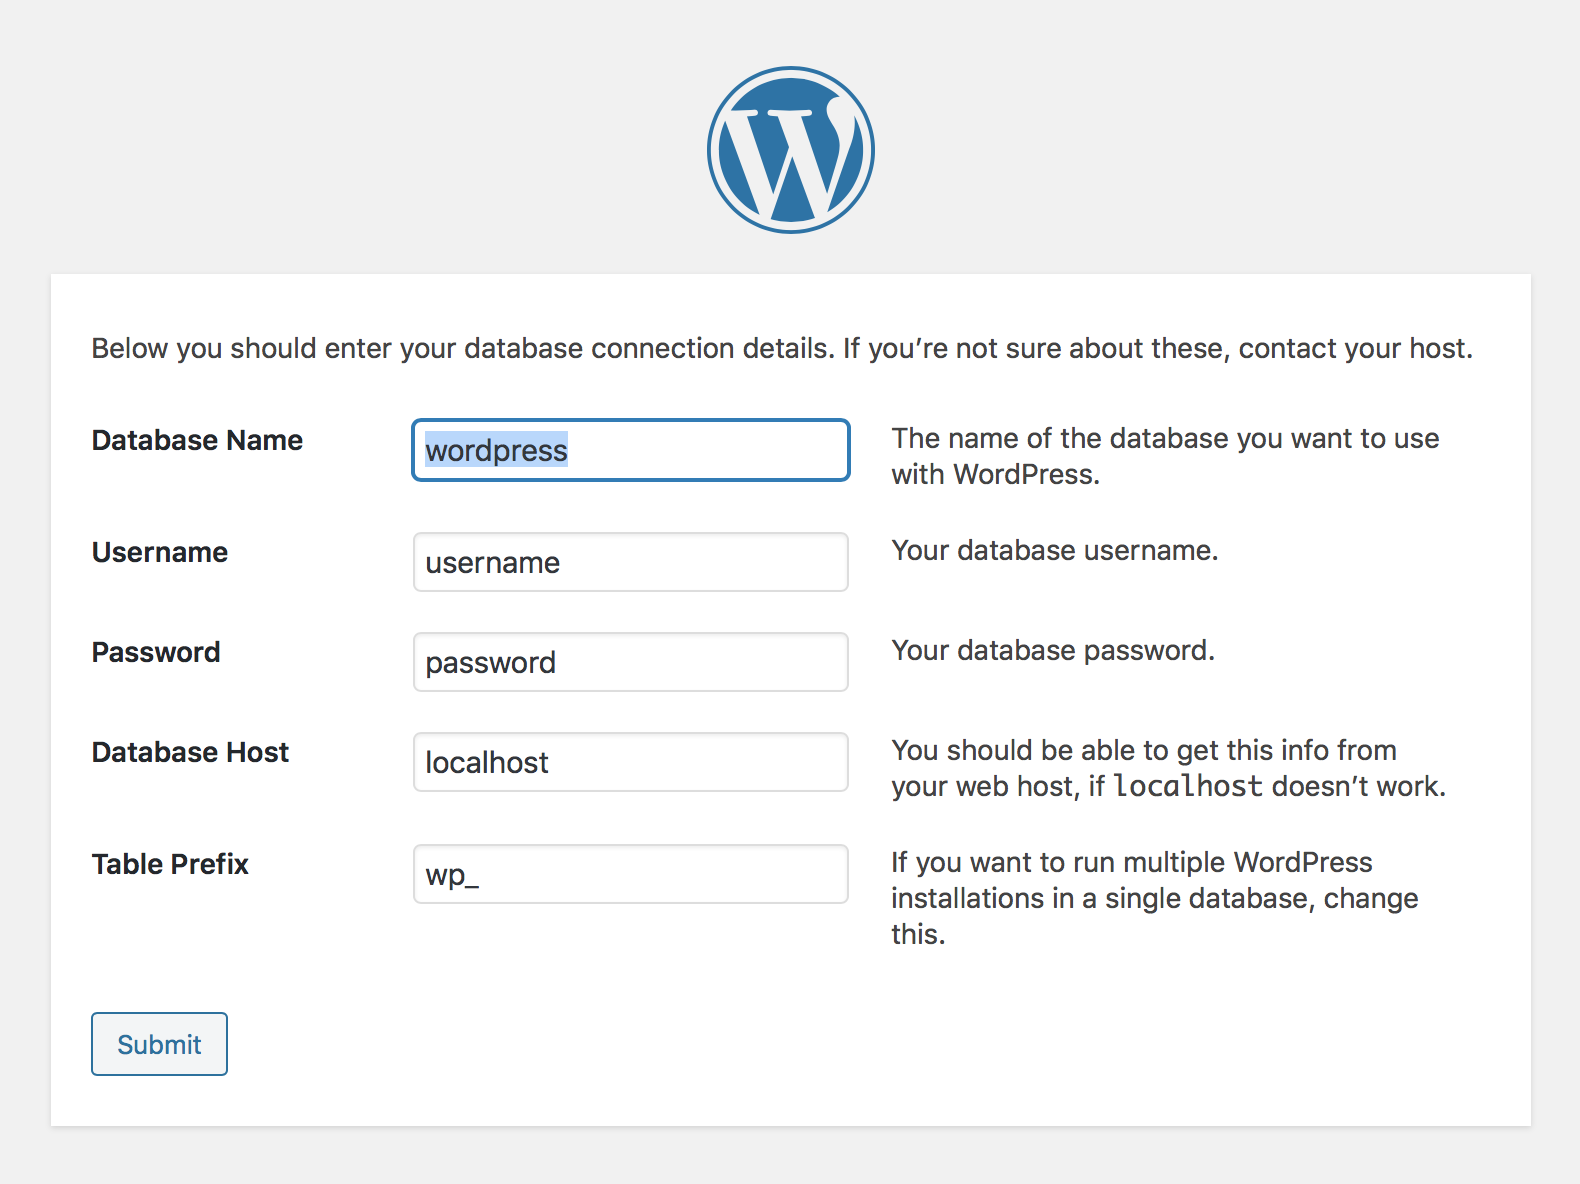
The following screen is a form that asks for the database credentials. Enter your database name and "root" for the username. (If you are installing this on a web server, use your database username here.)
If you are using MAMP, enter "root" for the password. If you are using XAMPP, leave the password blank. For a web server installation, use your database password credential here.
The database host will be "localhost:8889" for MAMP on a Mac platform. For either MAMP or XAMPP on Windows, use "localhost:3306". For web server installations, you will need to check the web host instructions. Web-4 simply uses "localhost" with no port number.
Leave the field that asks for a database prefix unchanged, unless you are working on a server that limits your account to a single database, such as web-4. In that case, the database prefix allows you to have multiple WordPress installs using the same database by "name-spacing" the tables. That is, a prefix allows the second WordPress install to use "wp2_" in front of all the table names instead of the standard "wp_", etc., for as many installs as you need.
Enter the data with the Submit button to proceed.
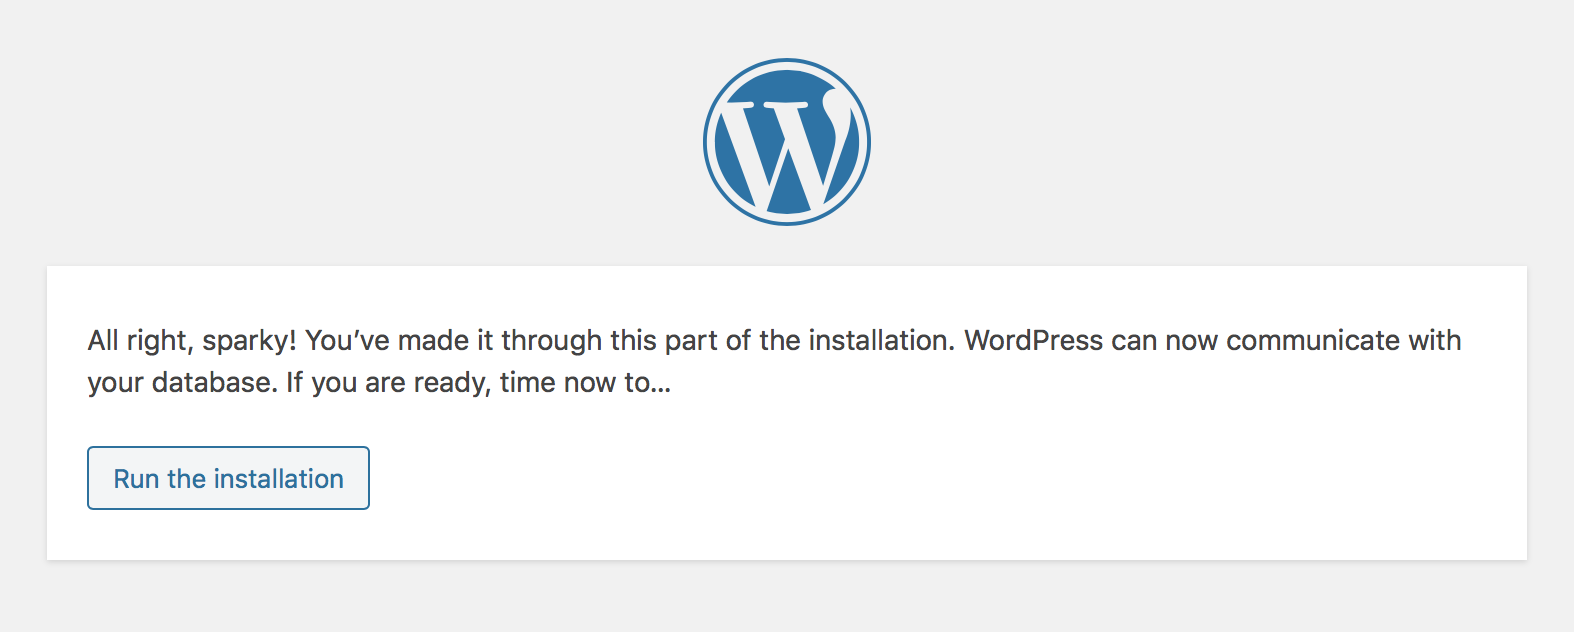
If things went well, you will see the confirmation message shown at right. If not, Wordpress will try to help you find the problem.
Click the button to run the Installation.
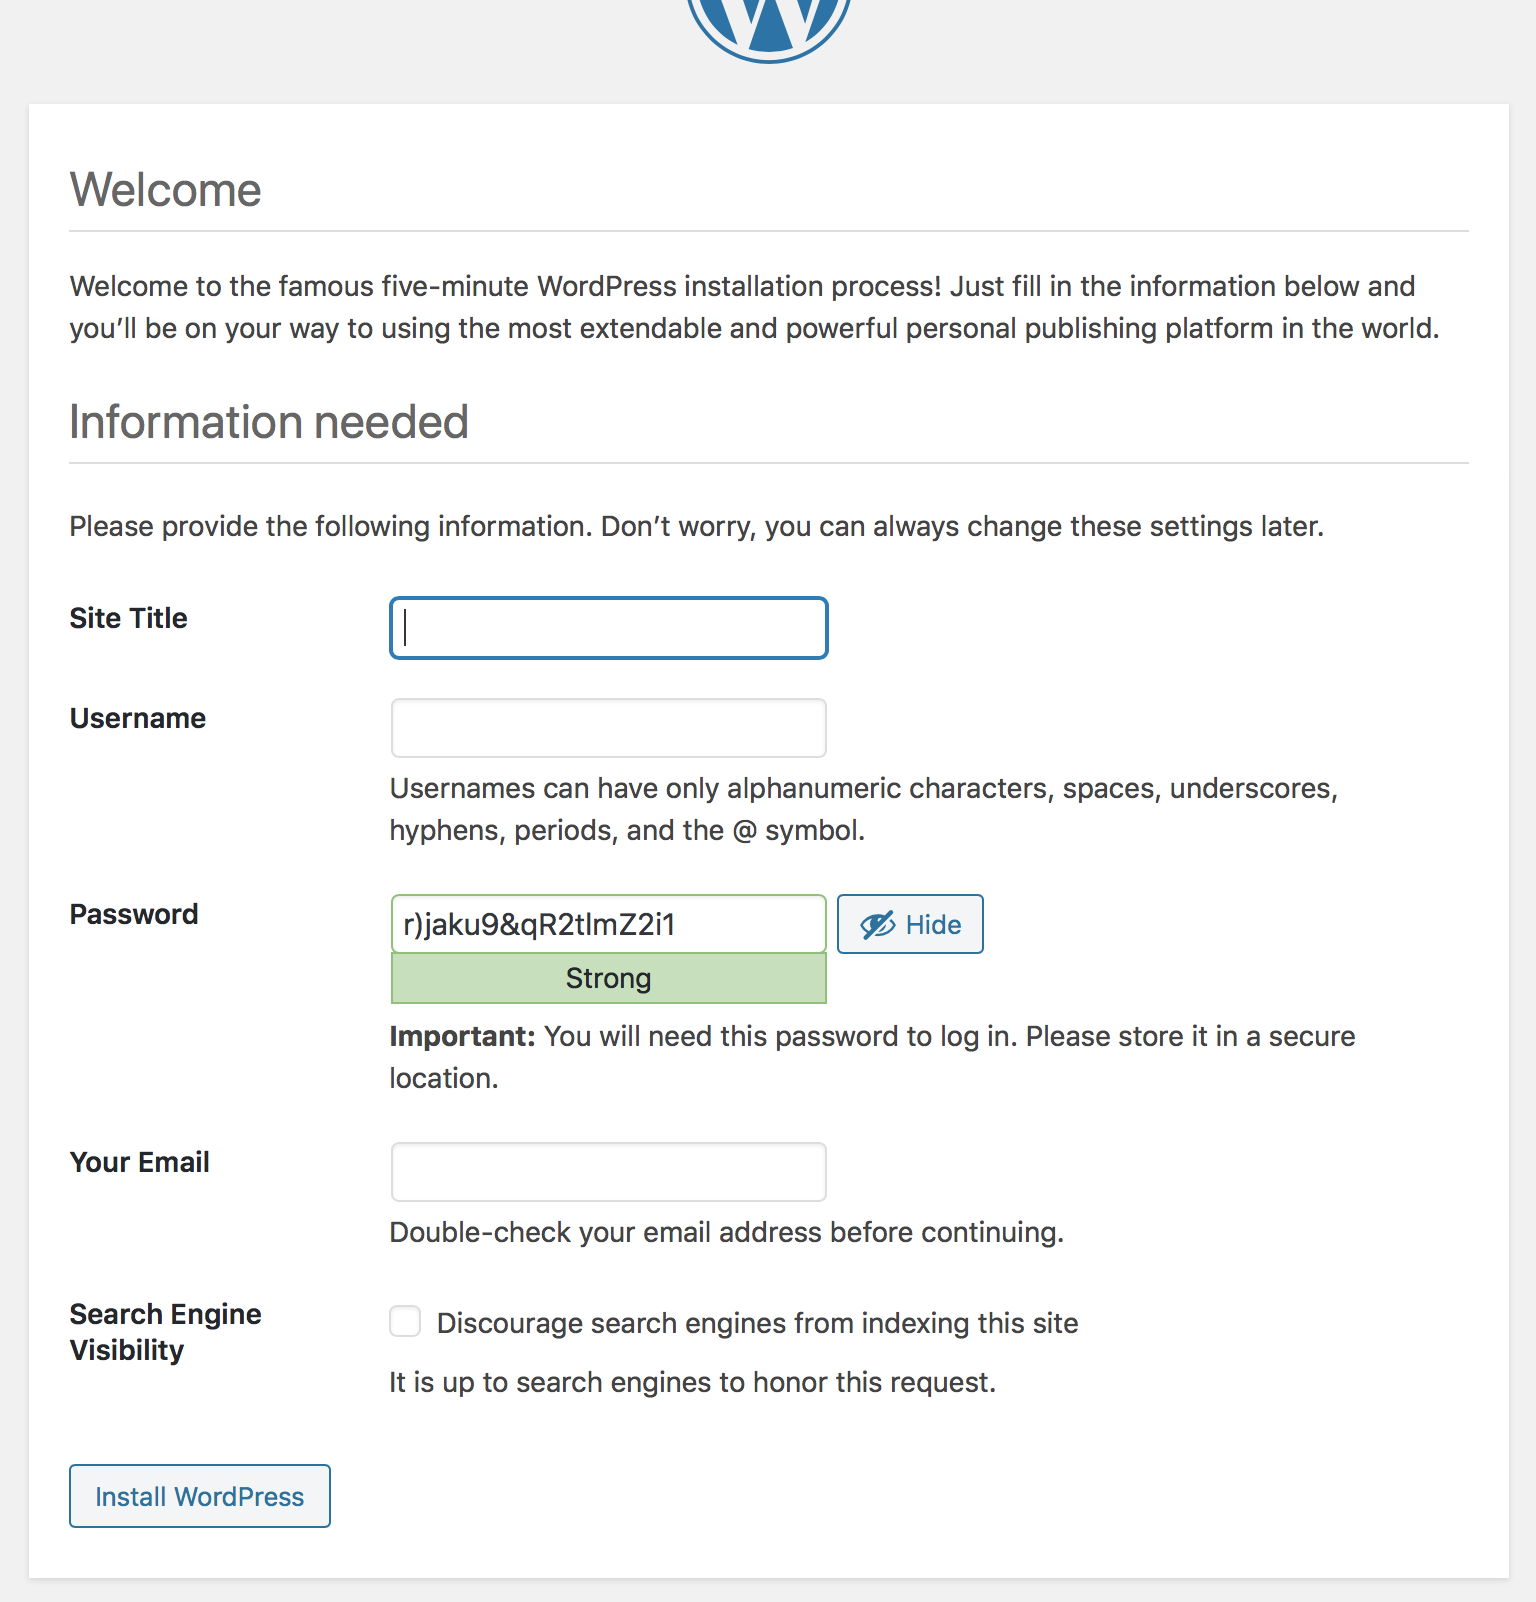
Give your site a name and create an account for yourself. Be sure to write your credentials down where you can refer to them later -- especially if you are installing WordPress for a localhost setup. WordPress will try to email you with a password reset link, but localhost installations will generally not be able to send e-mail. You don't want to start your entire project over because you can't remember your password.
Click "Install WordPress".
You will see a confirmation message if things go well.
Log In!
If you go back to your database, you will see that WordPress has created several tables. Have a look around to familiarize yourself with what is happening there.
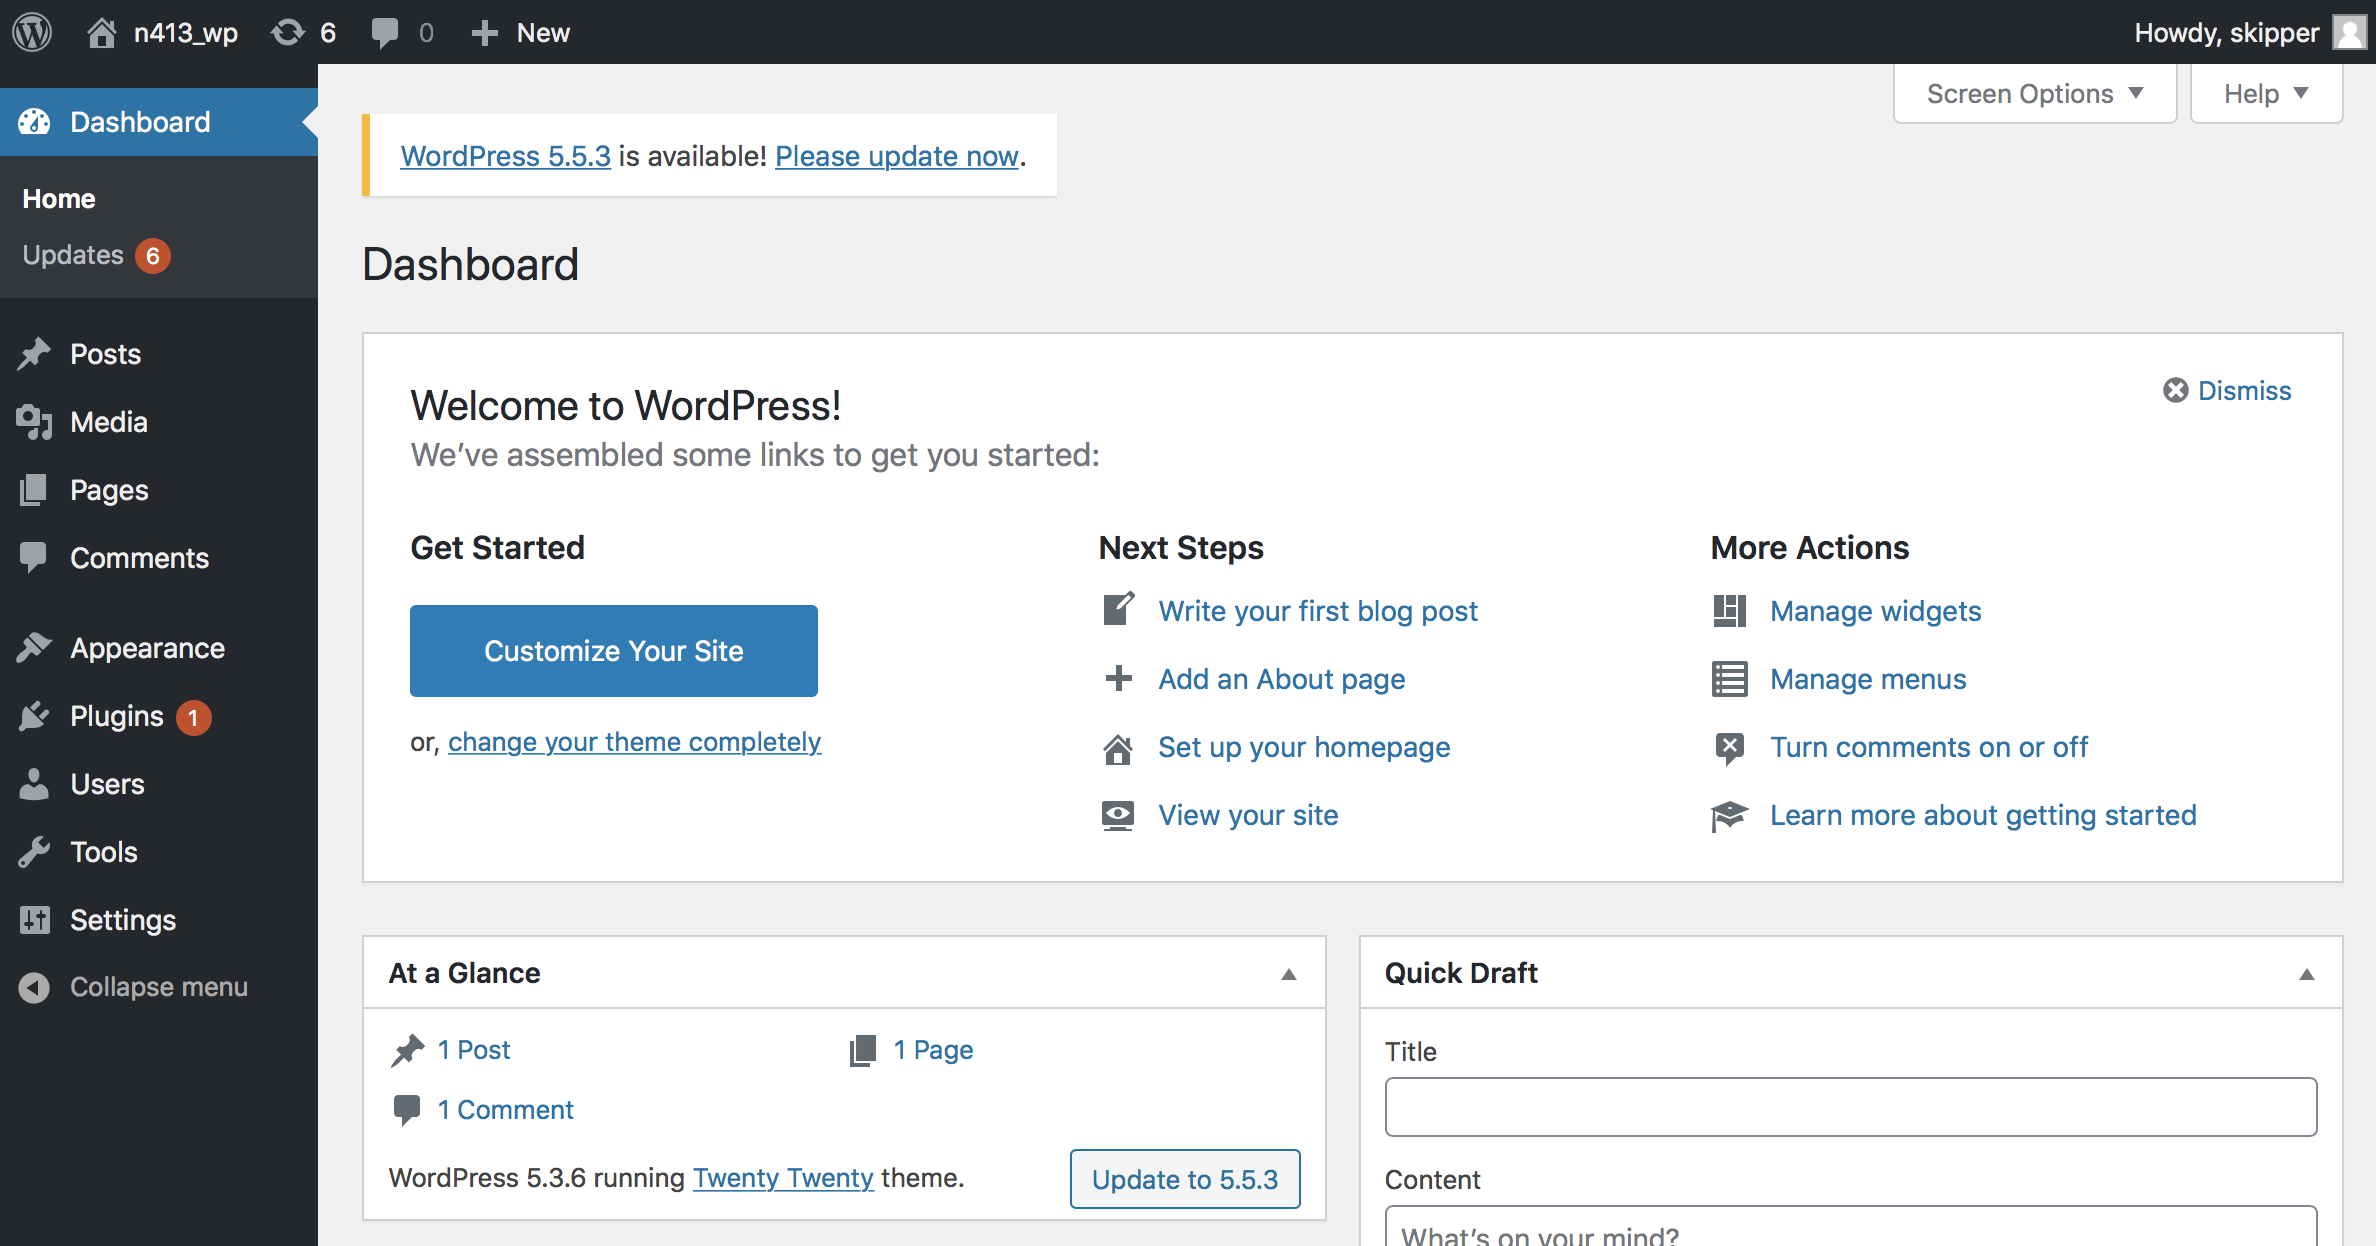
Log in! When you log in, you should see the Dashboard for the WordPress admin interface. It should look like the screenshot you see at right.
Congratulations! You now have a working WordPress installation. Now let's look around...
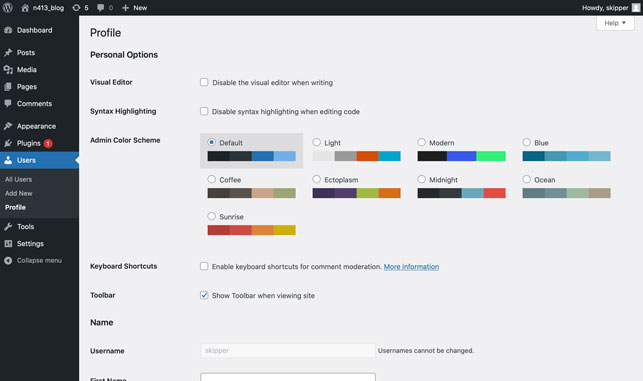
User Accounts. WordPress will have created a user account for you during the Install process. Have a look at your account by clicking "Users" from the Dashboard's left-side menu. You should see your name in the listing that is displayed. When you hover your cursor over the row, an option to edit your account should pop up. Click "Edit" and have a look at your user profile. Notice the "Toolbar" option and be sure it is clicked. When you are working on your site, the toolbar provides handy shortcuts to the editing tools you will want to use.
Also, notice other options you are able to change. Profile photos, nicknames, and passwords can all be set here. If you make any changes, be sure to scroll down to the bottom of the page and click the "Update Profile" button, or the changes will be lost.
Be sure to keep a copy of the username/password you used somewhere safe, in case you need it. Wordpress will e-mail password reset requests if your project is on a server, but for localhost accounts, that does not work. You will need your username/password to get in to the Dashboard. Being locked out of your own WordPress site is very sad.
Posts. By default, your site will have the WordPress "Hello World" post set up. You can see it by clicking on the site name link in the upper-left corner of the screen. Have a look, then return to the dashboard by clicking on the same link from the toolbar at the top of the "Hello World" screen.
All "posts" (the WordPress term for standard content) are shown in the Posts section of the dashboard, which you can access from the left-side menu. If you click on the "Hello World" post, you can edit it. You can also edit the page layout using the "Gutenberg" block editor. The block editor allows you to build the page by adding blocks of various types to compose the page layout.
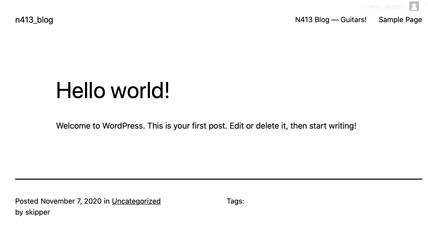
Themes. The default theme for WordPress version 6.1.1 is the WordPress Twenty Twenty Three theme (seen at right). You can activate and see alternate themes by using the "Appearance" link from the left-side menu. Try changing the theme and notice what happens.
Classic Themes vs. Block Themes.. New versions of WordPress generally ship with new themes and the themes from the last few releases. Each theme is somewhat different, and has its own features and design approach. Themes often reflect the development activity happening within the WordPress community. WordPress 6.0 was a major technical shift for WordPress, with the official changeover to the new Block editor (Gutenberg project) and the introduction of "block" themes. The Twenty Twenty Two theme that shipped with WordPress 6.0 was quite ornate and designed to show off the technical features of the new block theme approach. The WordPress 6.1 theme (Twenty Twenty Three) is a minimized version of the block theme. WordPress developers tend to prefer the stripped-down themes, because they are easier to customize. A simple theme requires less un-doing.

WordPress versions are generally backwards compatible with older themes, and there are themes available from 3rd party sources -- usually for free. (The Twenty Twenty theme is shown at right.) Themes prior to the Twenty Twenty Two theme are becoming known as "Classic" themes, because they use the older technique of customizing WordPress with PHP template files. We will use this technique in some of the AMP JAM exercises that use "child themes", so you should have a "Classic" theme available to use. You can download a few different ones from the Resources page.
Customizing. You can customize the theme with the Appearance/Customize option. It provides a menu to many parts of the theme. However, be cautious about extensive customizations if you expect to change themes. If you are modifying the theme's internal files with your changes, (and this may happen behind the scenes) the changes can be lost if you update or change your theme. For this reason, WordPress developers use a "child theme" for making customizations. A child theme is a subset of the theme's files, which are kept off to the side of the main theme's directory. When the theme is replaced with an update, the child theme remains untouched, with the modifcations intact.
When you're ready, proceed to The BLOG and add some content!