The BLOG will take you through the process of adding some content to your WordPress site, and creating a landing page for your site.
This project has the following steps:
- Either set up a new WordPress site or work with the one you just set up in The INSTALL.
- Make a few blog posts for the WordPress site.
- Make a landing page and set it as the home page for your site.
Project Set-up. You can continue working with the site you just installed, or you can start a new site. If you start a new site, I recommend naming it n413_blog. The instructions will assume you are using a new project. Set up a new database and do a fresh install of the Wordpress files, as explained in The INSTALL.
The illustrations for The BLOG will use the Twenty Twenty theme, but you should be able to use any theme for this project.
Posts vs. Pages. WordPress uses a concept called "posts" to describe individual content items. There is a similar concept for "pages". Both posts and pages can be stand-alone pages on a site. However, pages tend to be permanent parts of the site structure, while posts tend to be more transient, and are often grouped in lists, with the most recent posts displayed first. They can also be organized by category and accessed that way. So posts behave more like a blog or series of entries, while pages look more like the traditional structure of a web site.
Create Some Posts. Now it's time to add some content. We will add some posts using content from the LitJAMS exercises: Guitars.
Images
Guitar Images for the Lit LIST project: guitars.zip
Scripts
SQL script to create the "litlist" table: litlist.sql
(Open the .sql script in a text editor to pull out the titiles and text for the Guitar posts.)
Start by logging in to the dashboard (<path-to-your-project>/n413_blog/wp-admin ). Enter your WordPress account credentials. (You did write them down somewhere, right? If not, start over with a new install, because WordPress will try to email you with a "reset password" option, but your localhost setup will not send email.)
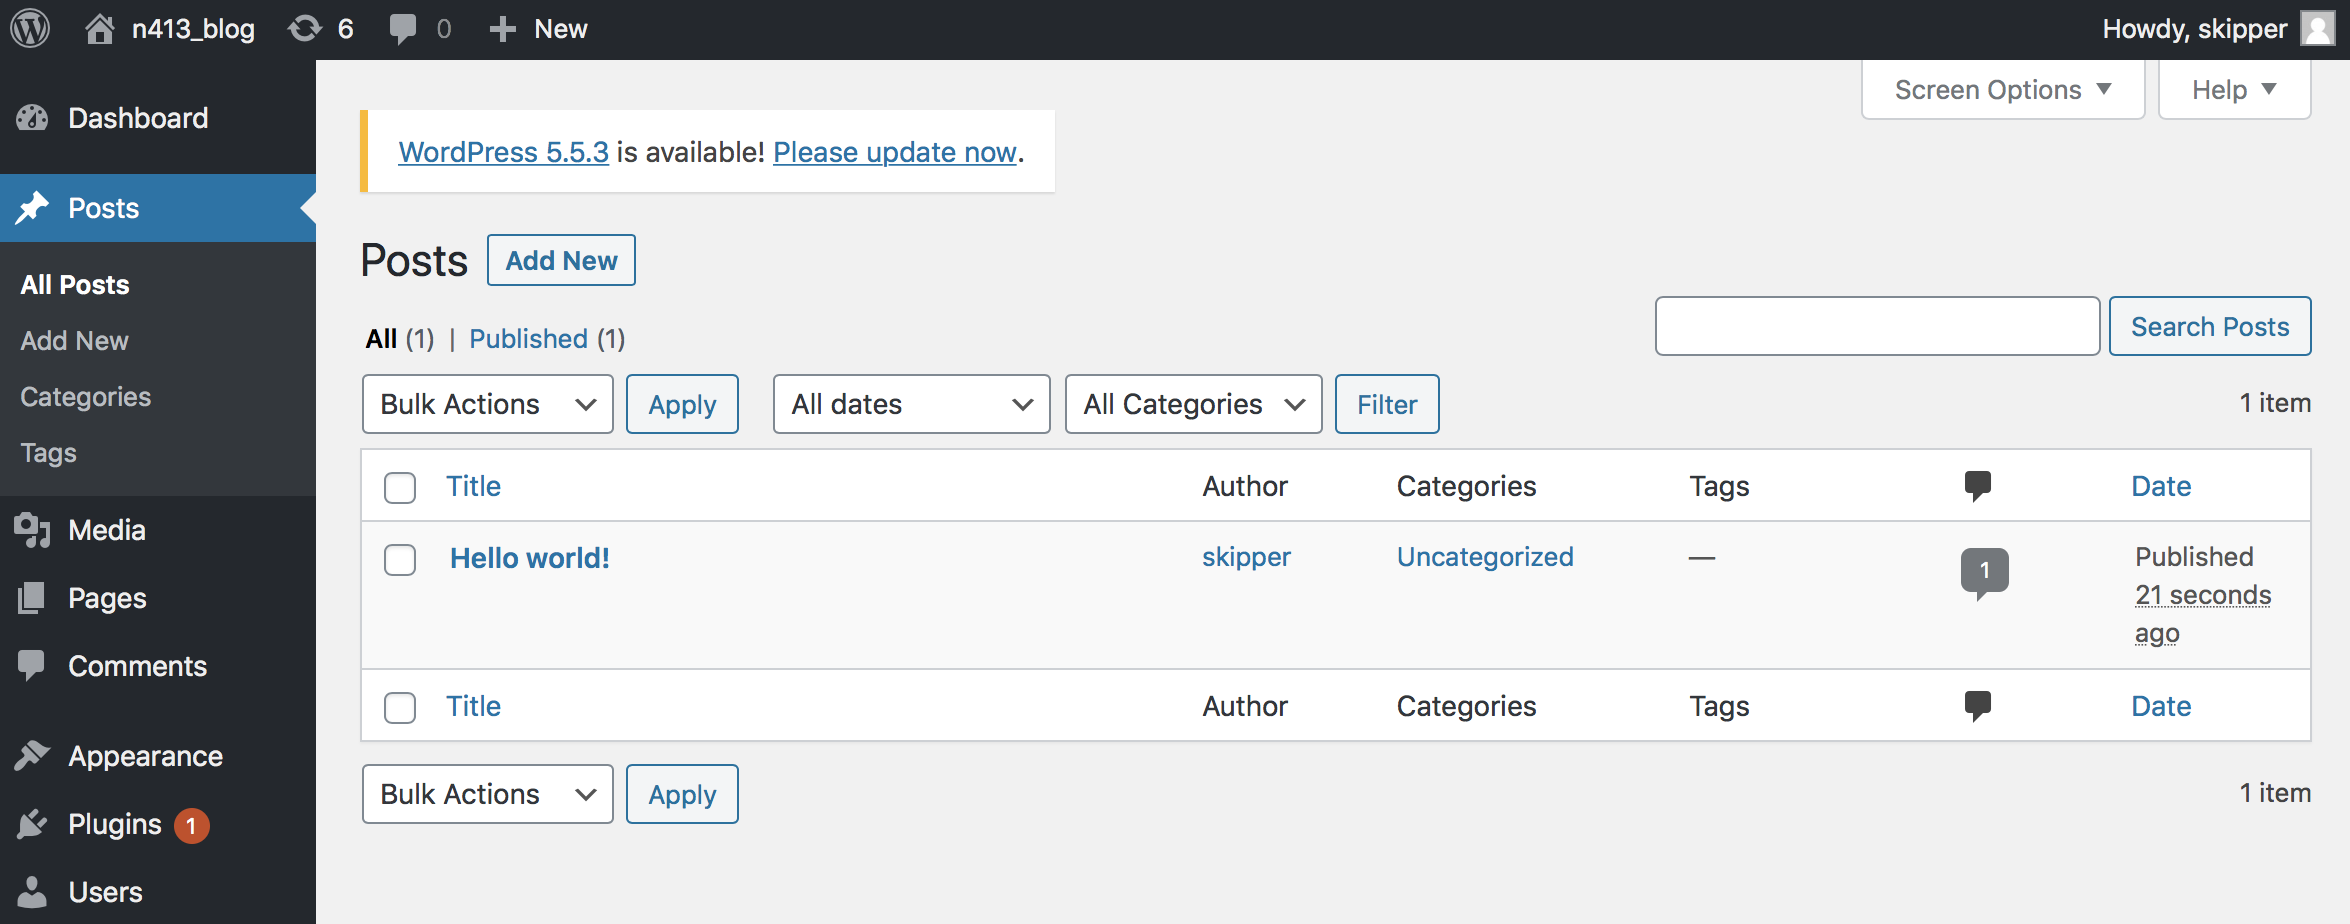
Select "Posts" from the left-side menu. You will see the Posts listing with the default "Hello World" post.
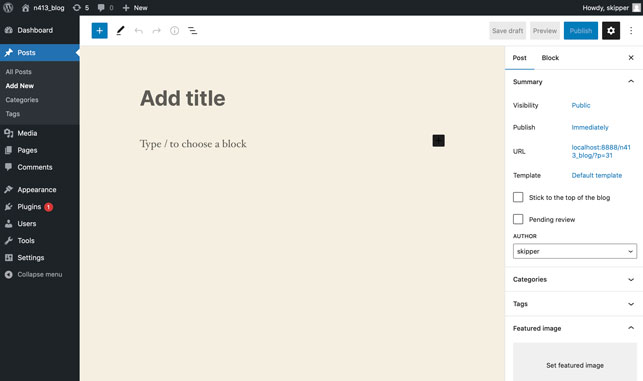
Click "Add New" and you will see a blank post form. This form is what is known as the "Gutenberg" editor, or the "Block" editor. Content is entered in "blocks". Following the title block, the default block type is the paragraph, but there are many types of blocks that can be used for various content types.
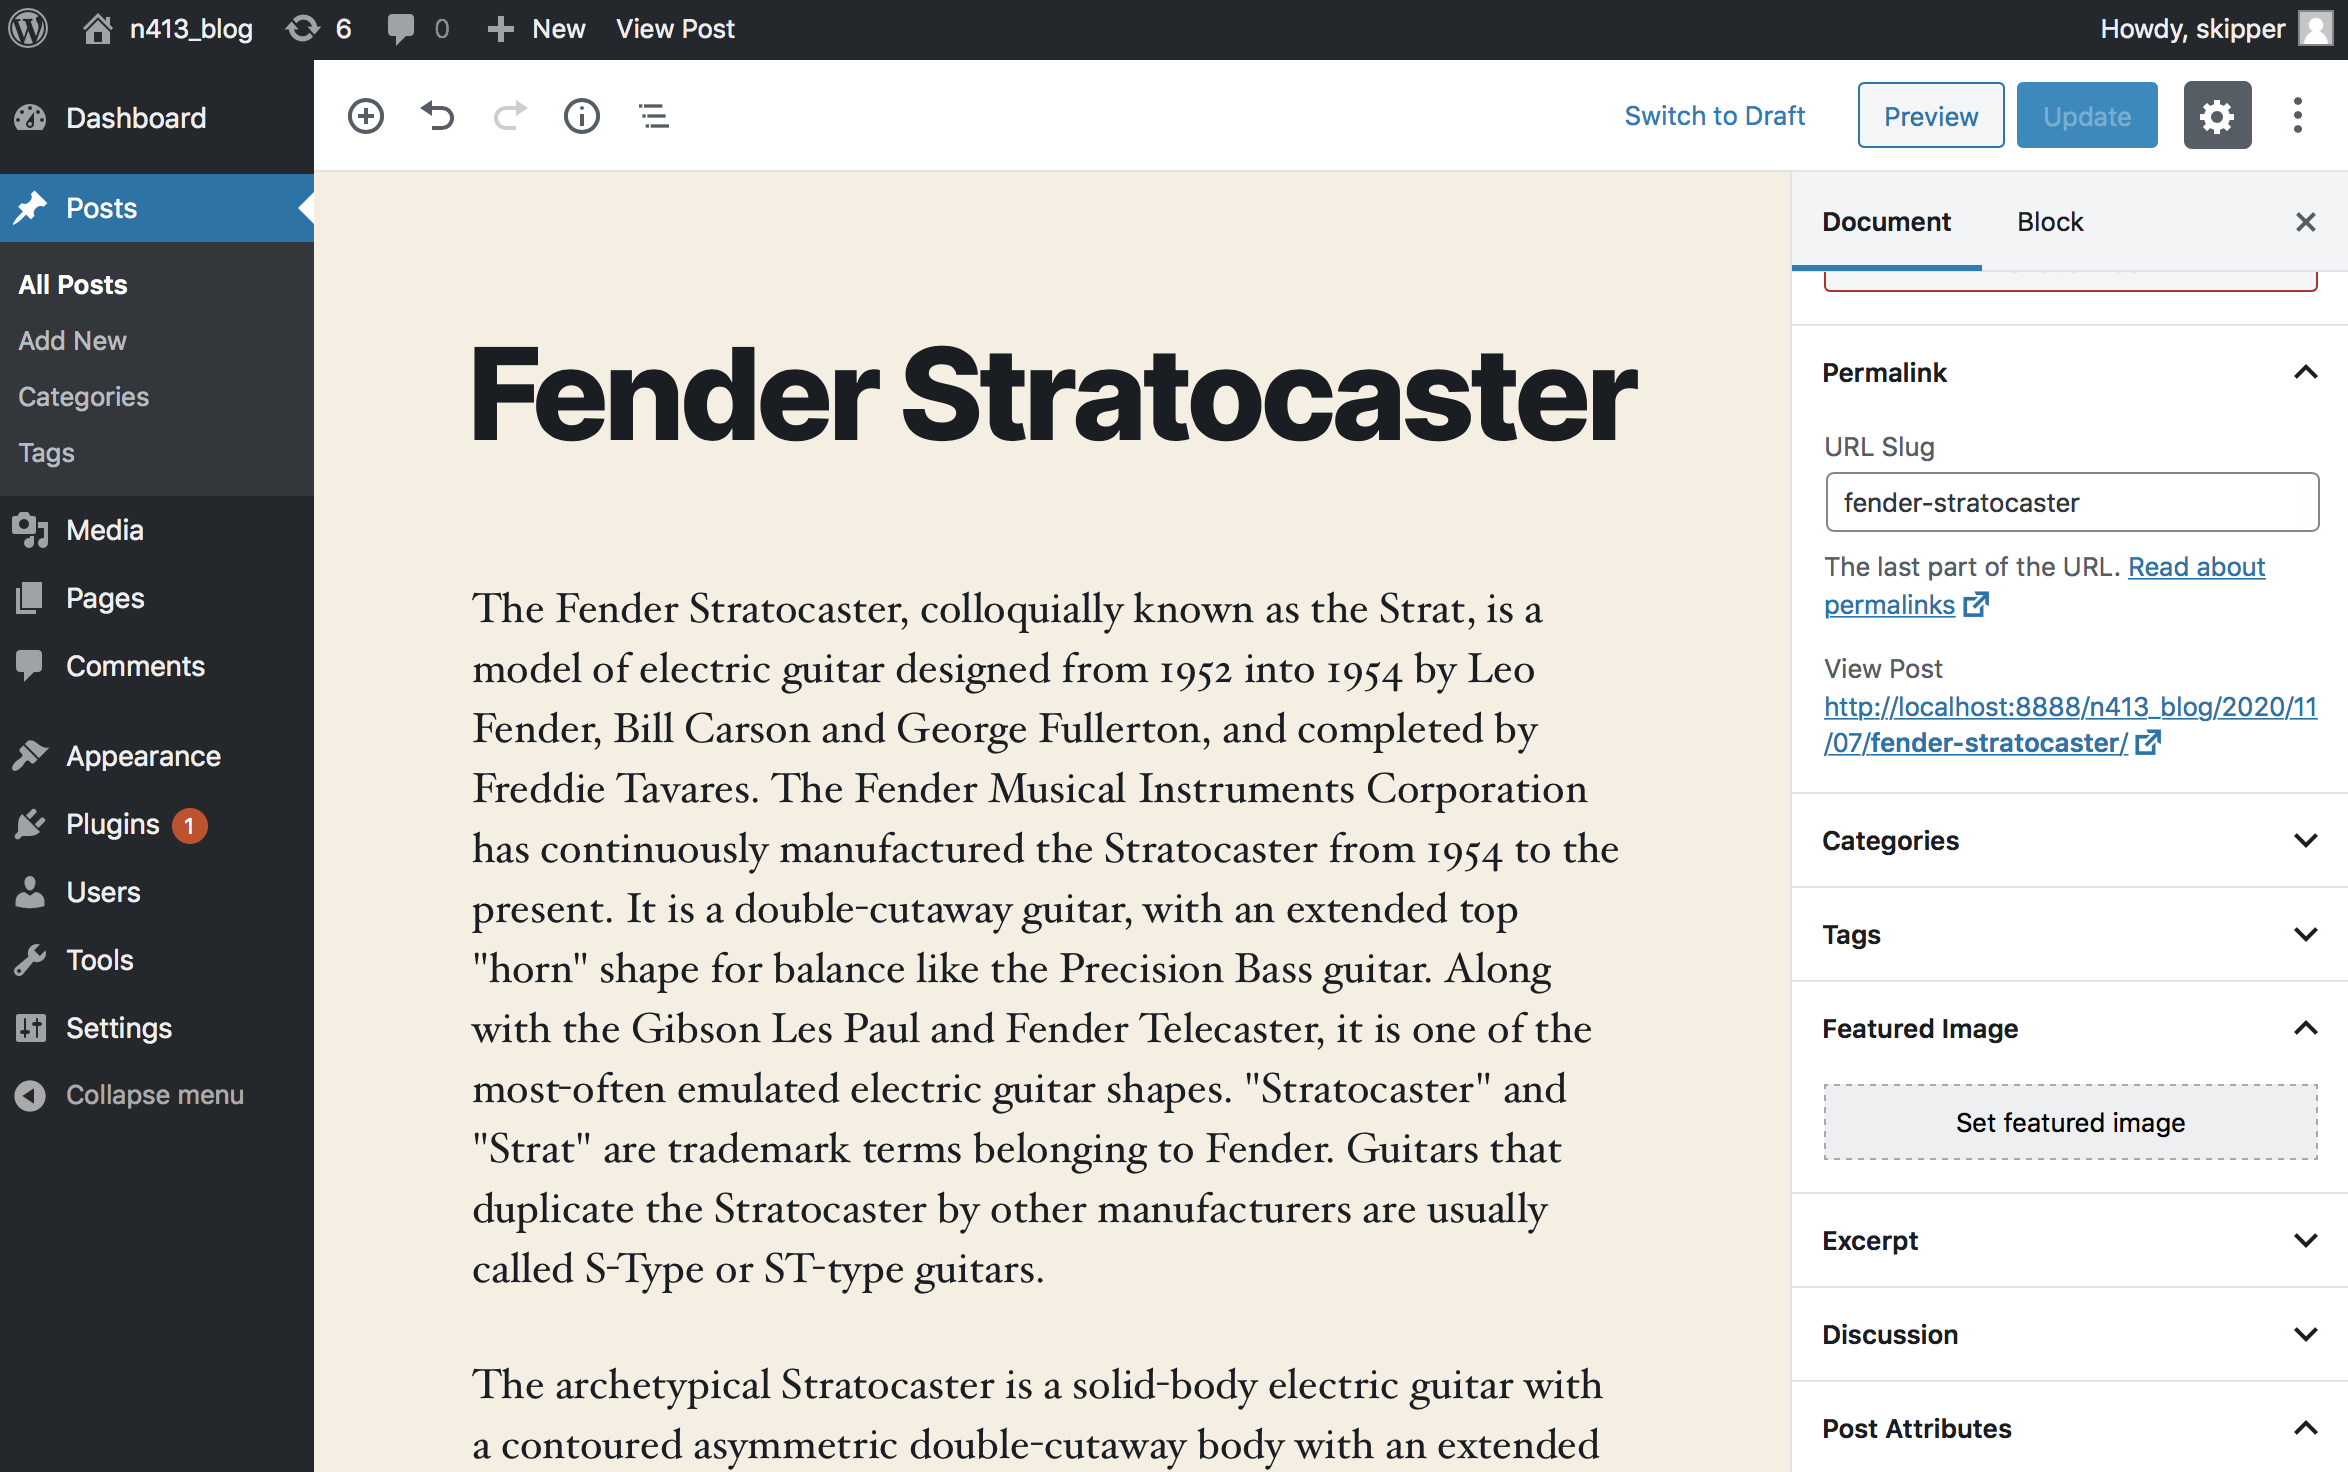
A post must have a title to be inserted into the WordPress database, so use a headline from your "Guitars" content for the title. The title will be used to create a "slug", or unique identifier for the post. You can see the slug over on the right side menu once you create the title.
Next, add the text from the Guitar content as the first paragraph block. (WordPress will automatically create additional paragraph blocks for each paragraph in your text content.)
Click the "Publish" button at the upper-right to save your post. You will be asked to verify that you are ready to publish. Confirm that you are, and you will see a "View Post" link appear at the lower left. Click it to view your work so far.
To return to the post, click "Edit Post" in the toolbar at the top of the screen. Now we will add an image.
Look for the right-side column of the editing interface. If you don't see it, you may need to click a "gear" icon at the top right of the screen. The right-side column has a top row that sets the options for document-level items and block-level items. When editing a post, the document-level setting will say "Post". Be sure that is selected.
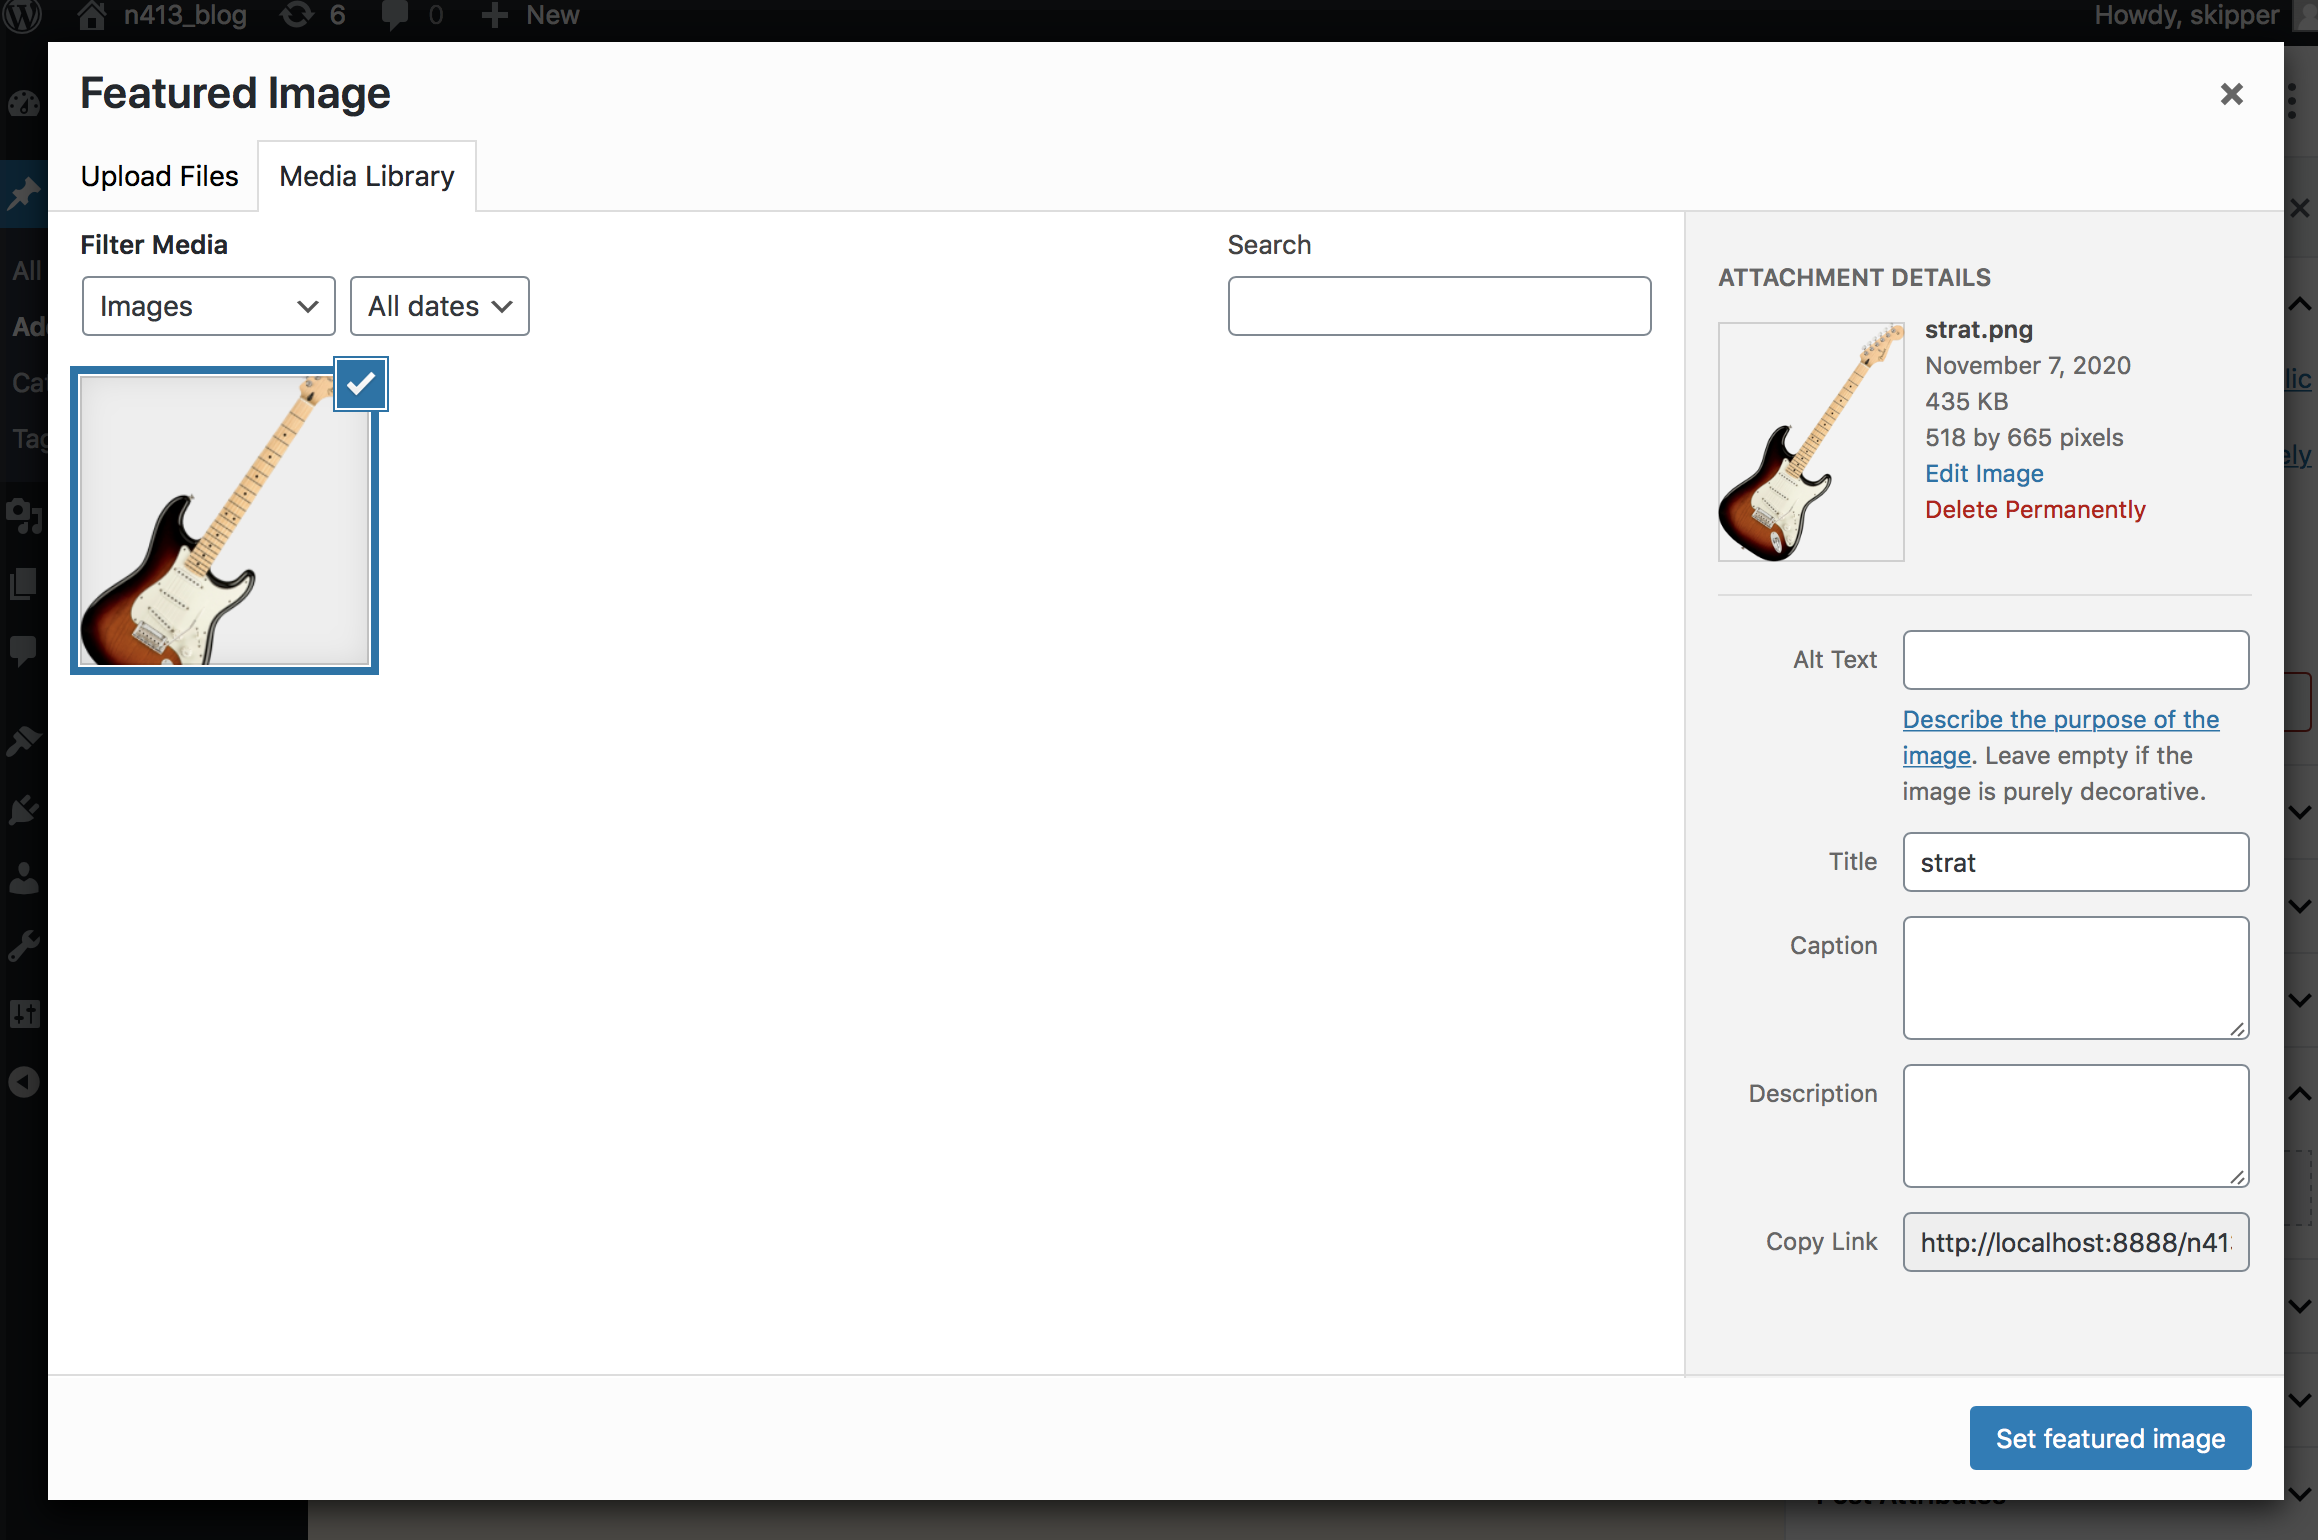
Look for the "Featured Image" item in the right-side menu. Click it, and you will see a link for "Set Featured Image". This will take you to the "Media Library".
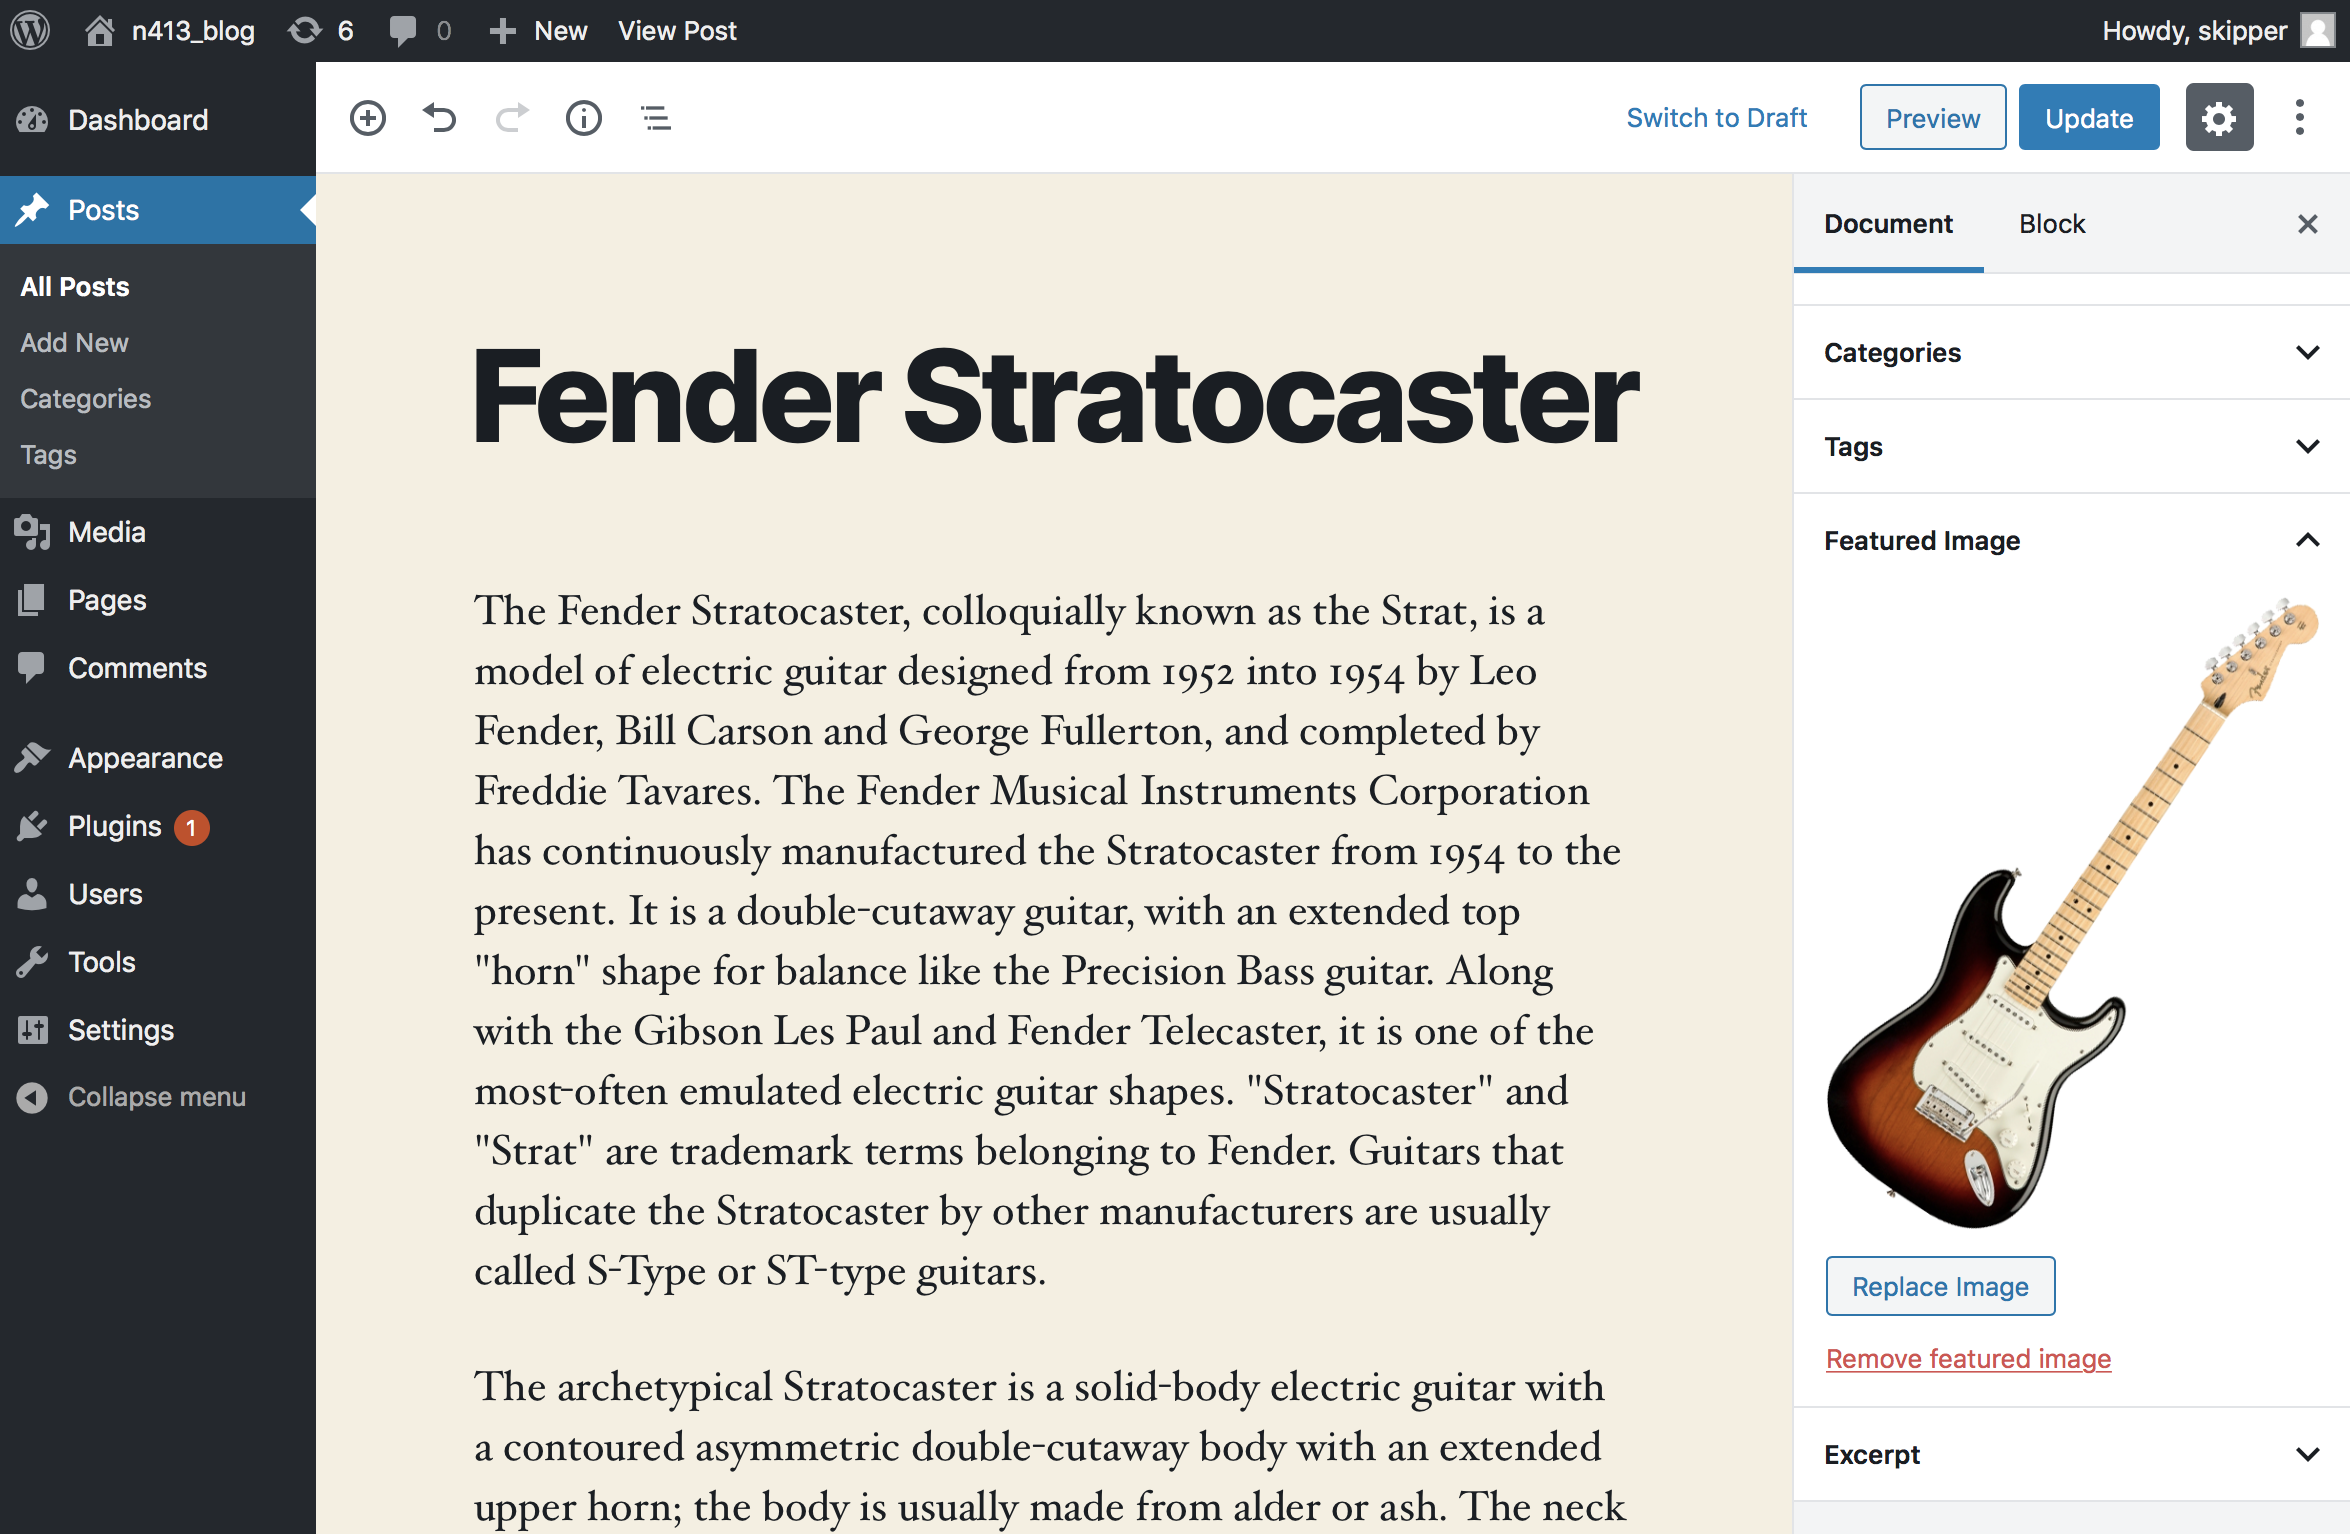
At the Media Library, look for the "Upload Files" tab, click it, and you will be able to upload an image from your file system. Once uploaded, the image will appear in the Media Library as a thumbnail. Look at the lower-right, and you will see a button for "Set Featured Image". Click this, and the image will be set as the featured image for your post. You will be returned to the post editor. You must view the post to see the photo in place, so publish and view your work.
The way the published post displays the formatted image and content will vary, depending on the theme you selected. Some themes don't display the image at all, while others size and place it in various ways. In any case, published posts look quite different from what you see in the editor, so checking the published version of your work as you go is an important step in the authoring process.
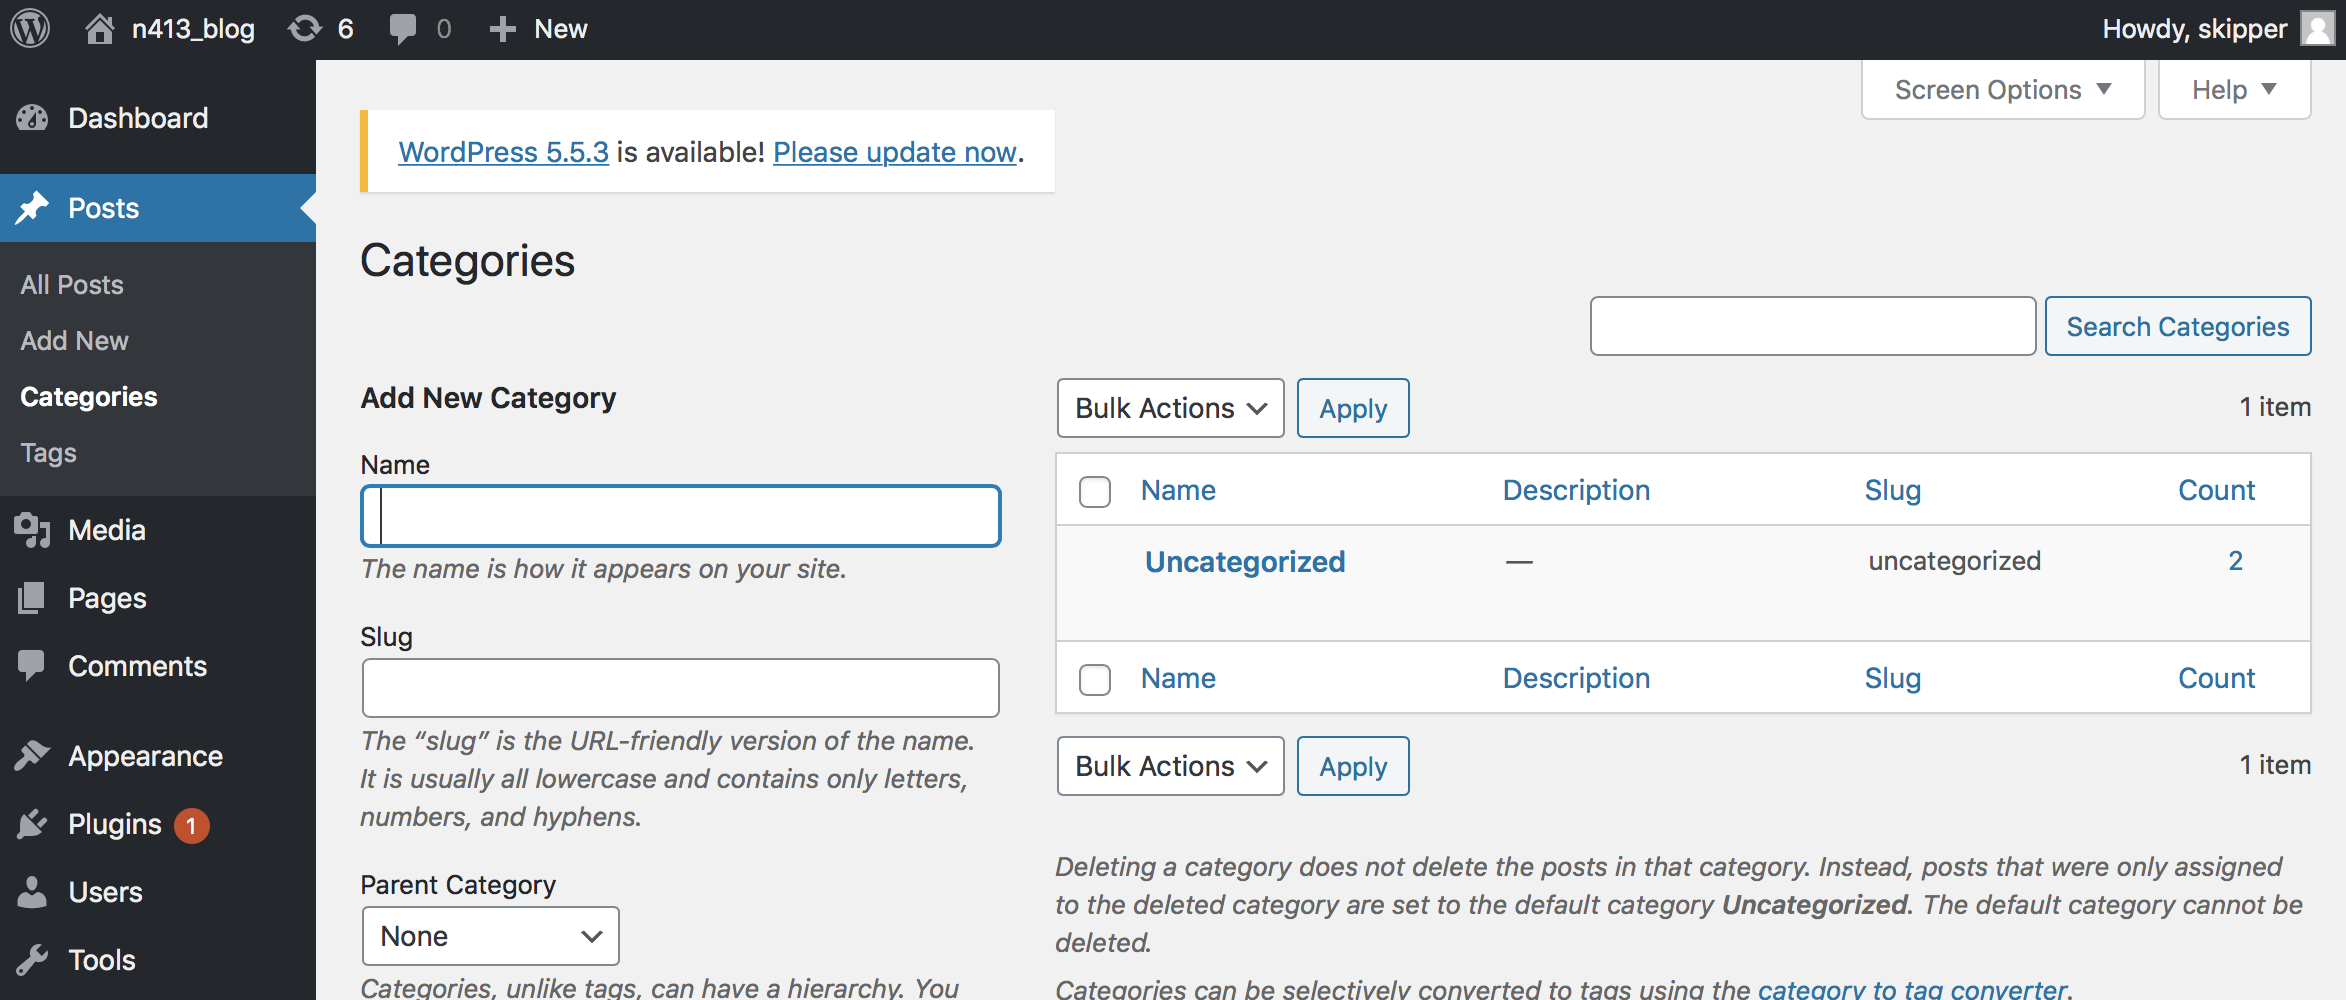
The next step is to put the post in a category. From the left-side menu, go to Posts > Categories and open the Categories Listing
Add a category name in the form. We will use "Guitars" for the category name. The "slug" will be created automatically, so don't bother with that. Click the "Add New Category" button to create the category.
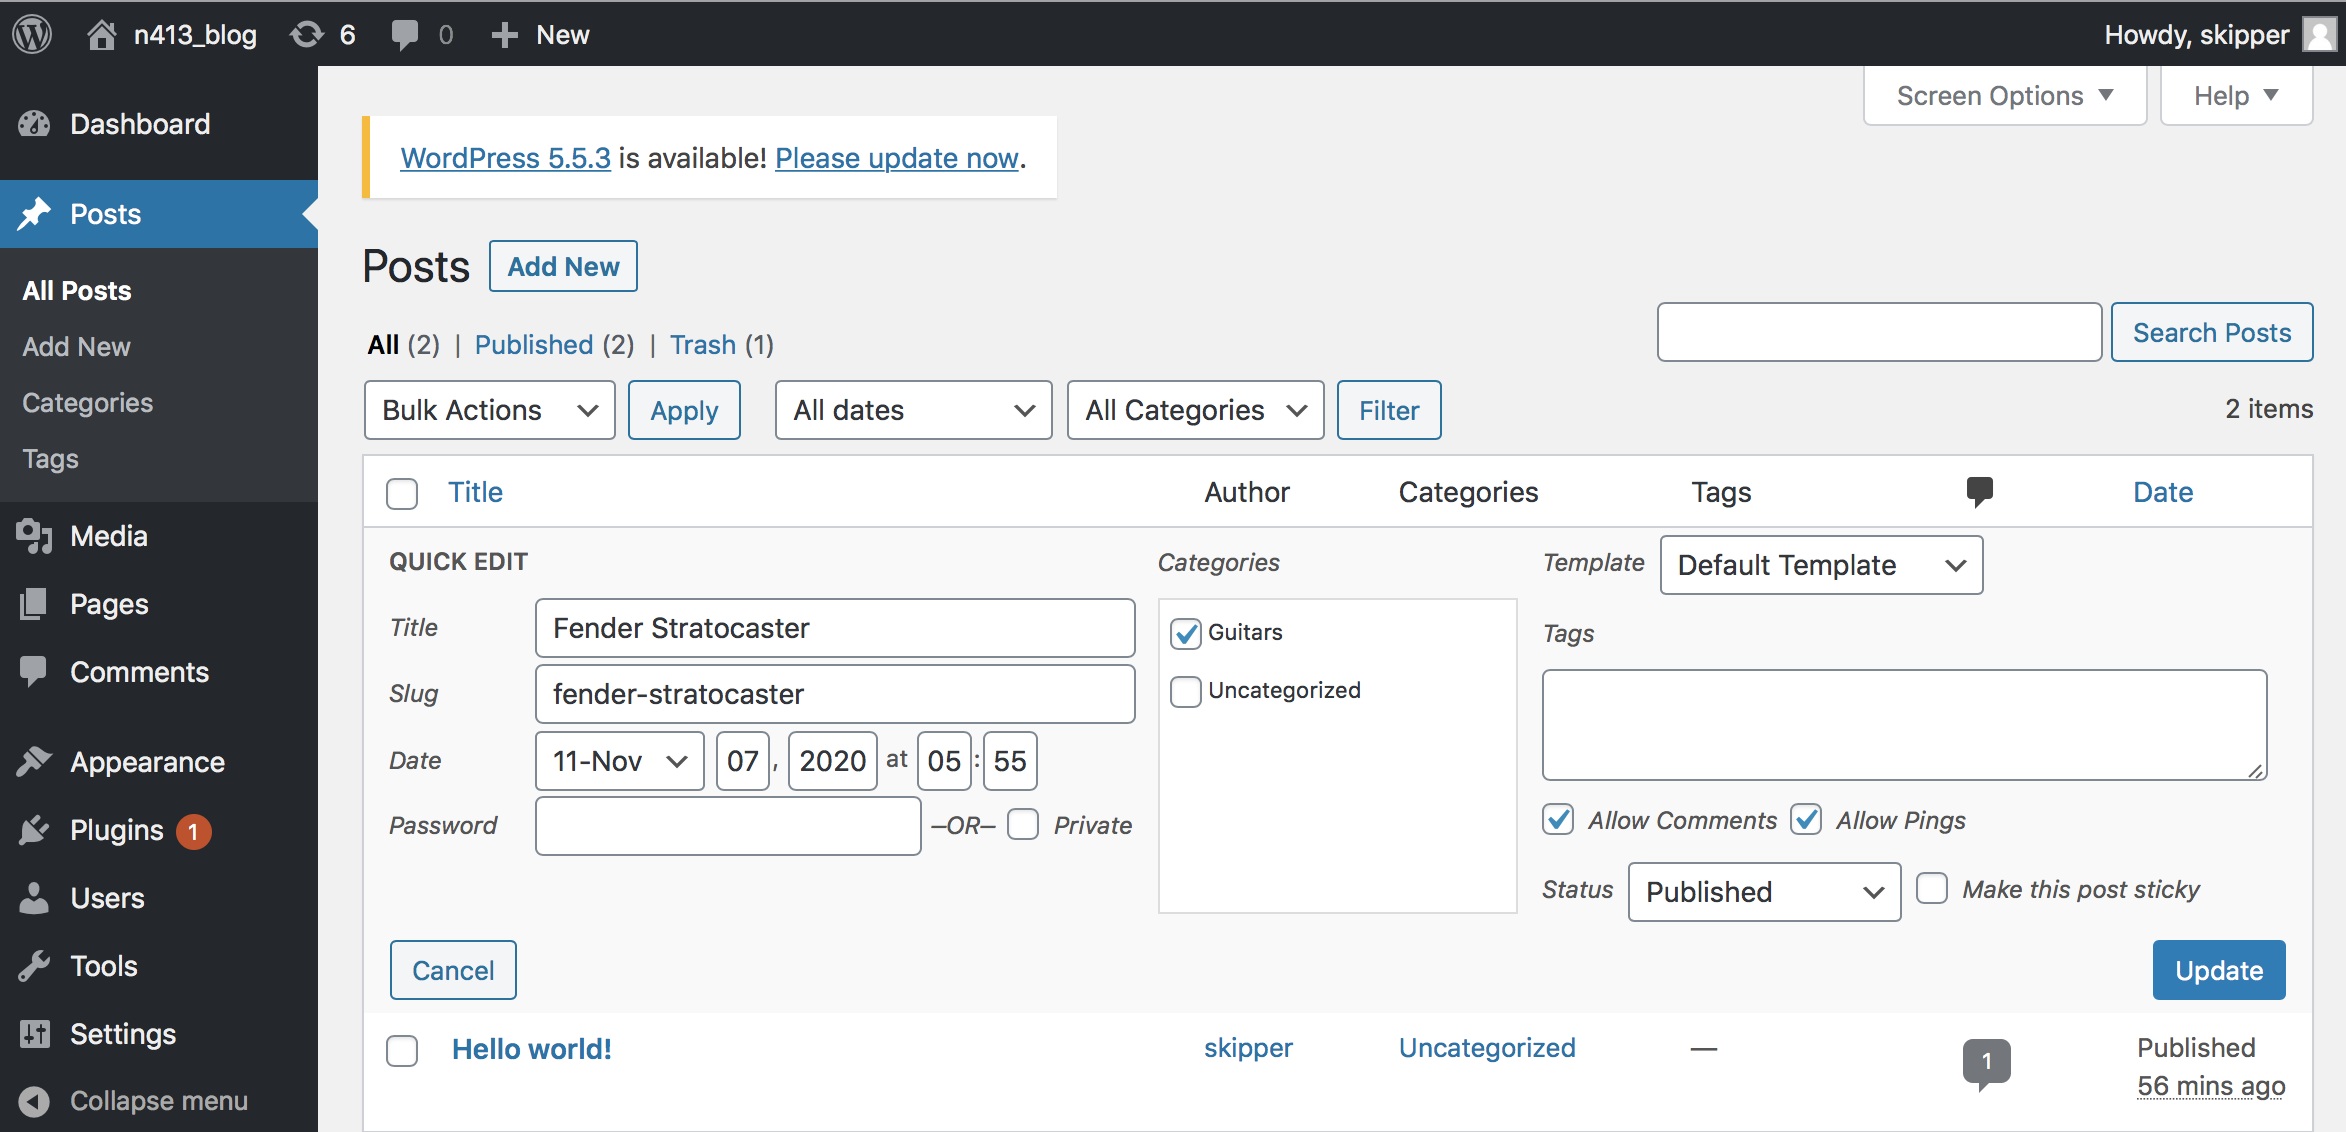
Now go back to the posts listing and hover the cursor over your new post. You will see a link for "Quick Edit". Select it and look for the "Categories" check boxes.
Uncheck the "Uncategorized" box and check your new category.
Be sure to click "Update" and then have a look at your site. You should see the name of your new category displayed above your post, and it should also be visible in the "Category" list at the bottom of the page.
Add a few more posts and categorize them before we create a landing page for your site.
Landing Page. By default, WordPress will display a blog (or series of 10 posts, sorted from most recent to oldest) as your site's landing page. Instead, we will change the landing page to a Home page, designed in the WordPress editor.
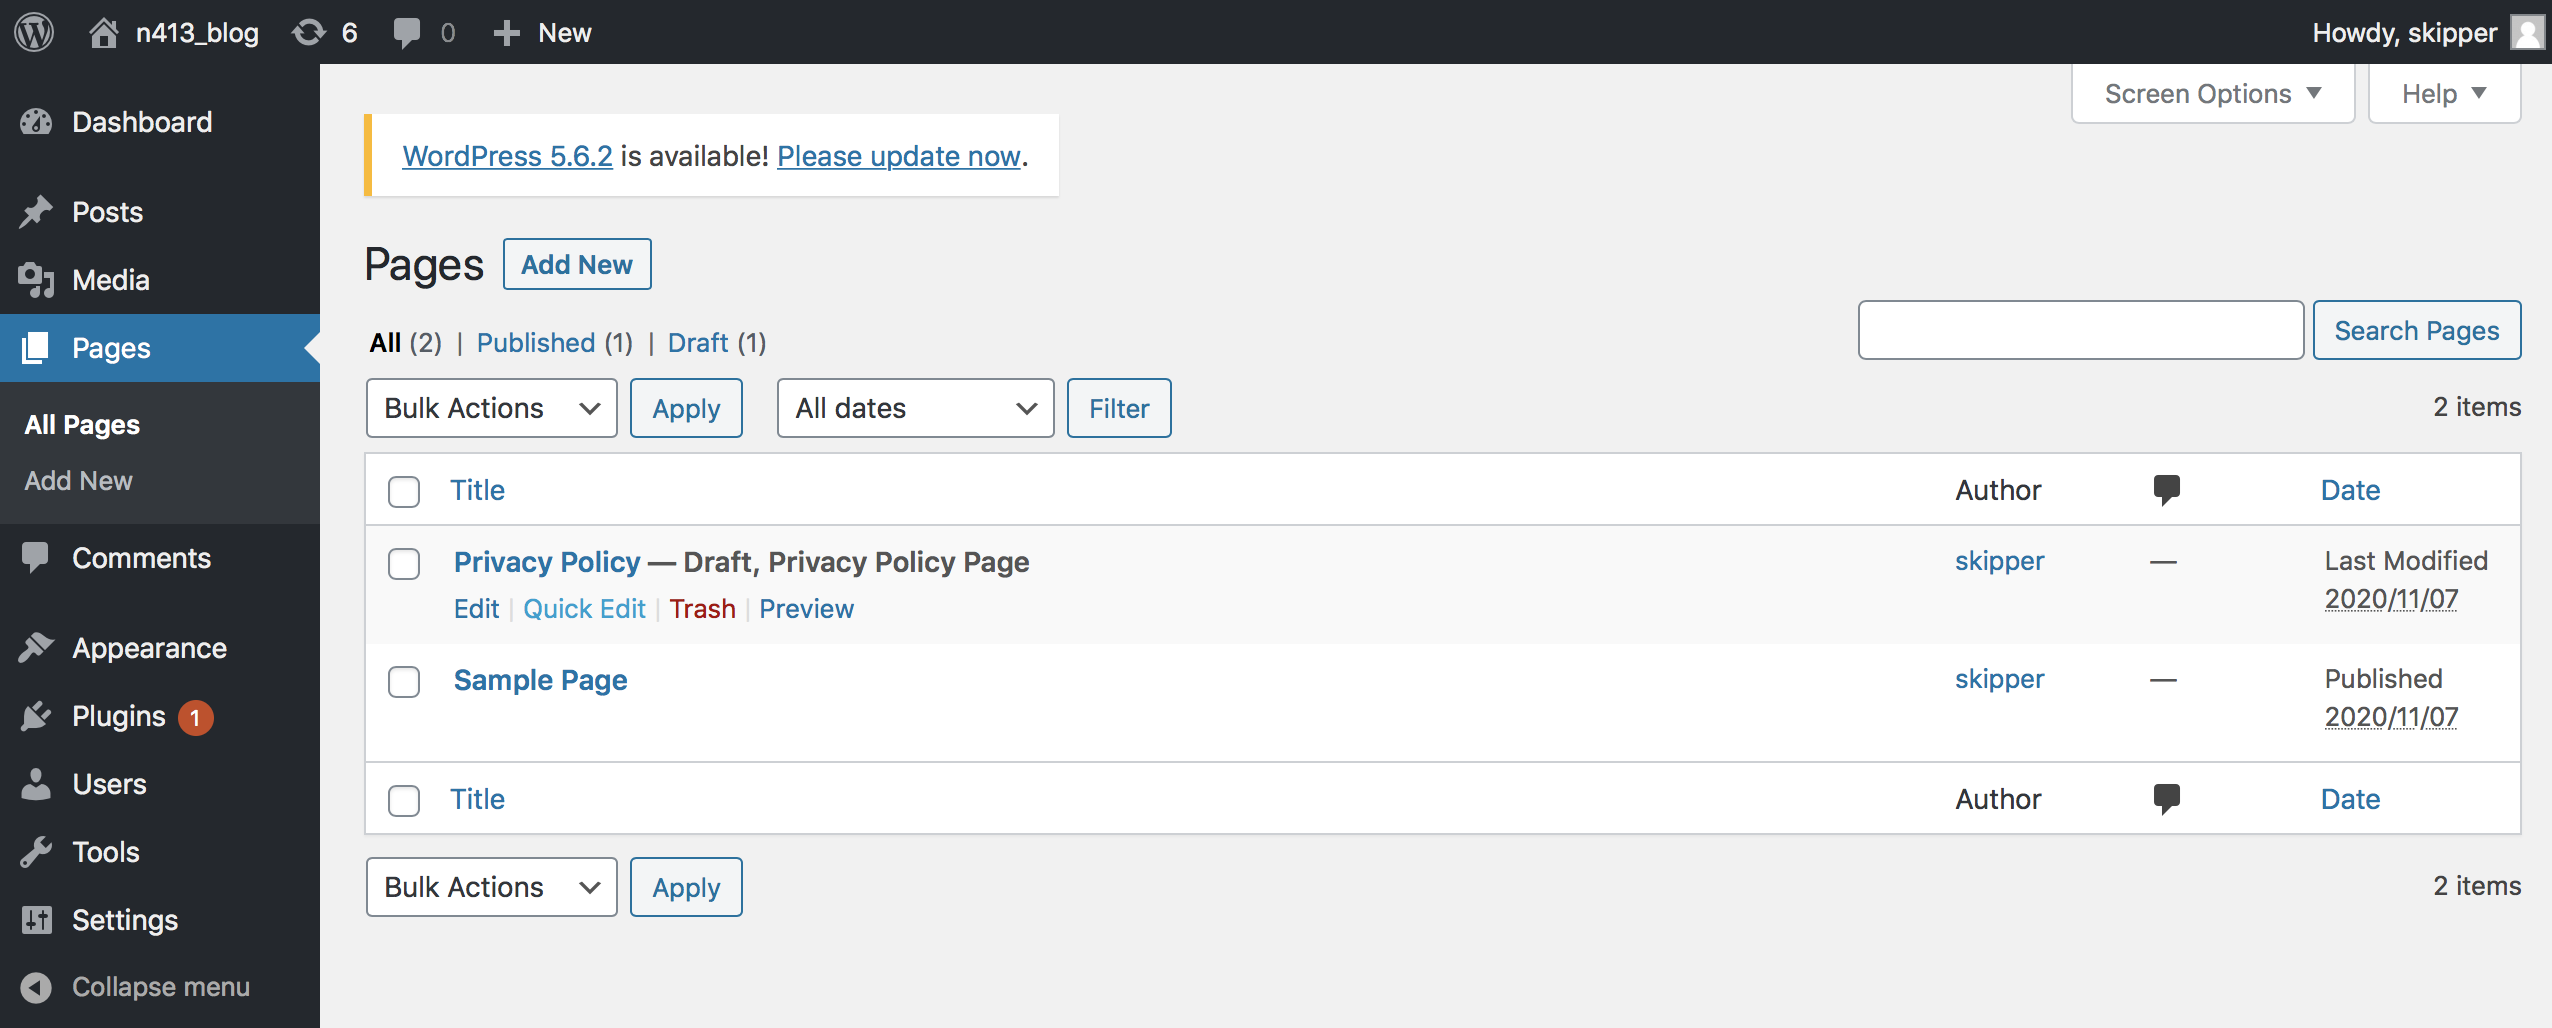
Click on the "Pages" link in the left-side menu. You will see an "Add New" option to add a new page.
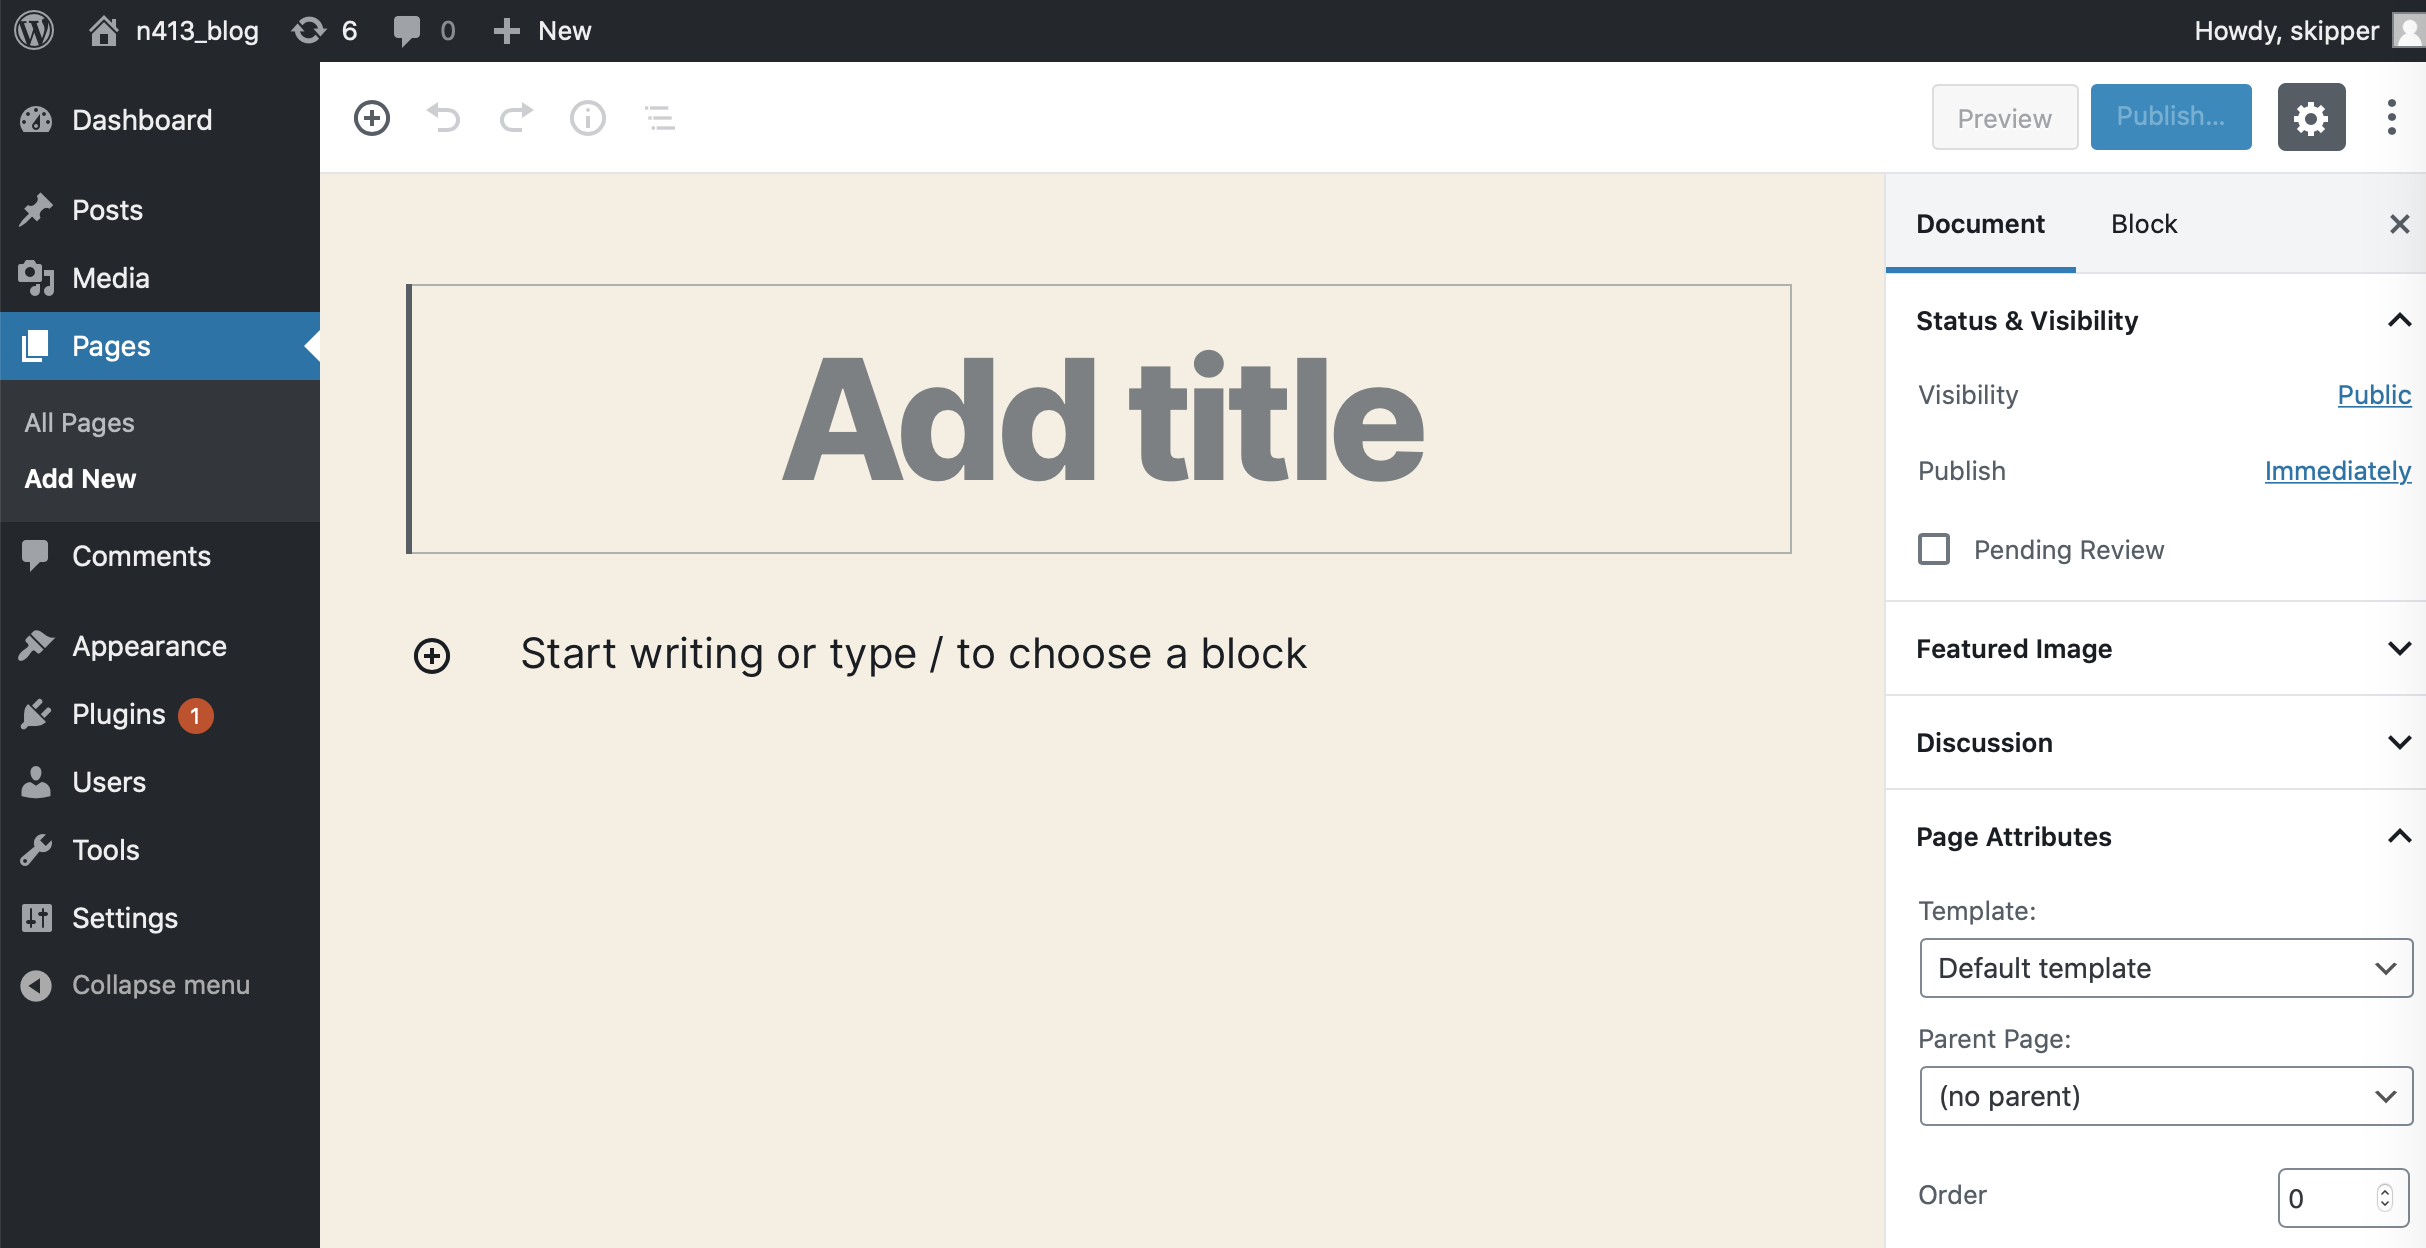
Click "Add New" and you will see the page editing screen.
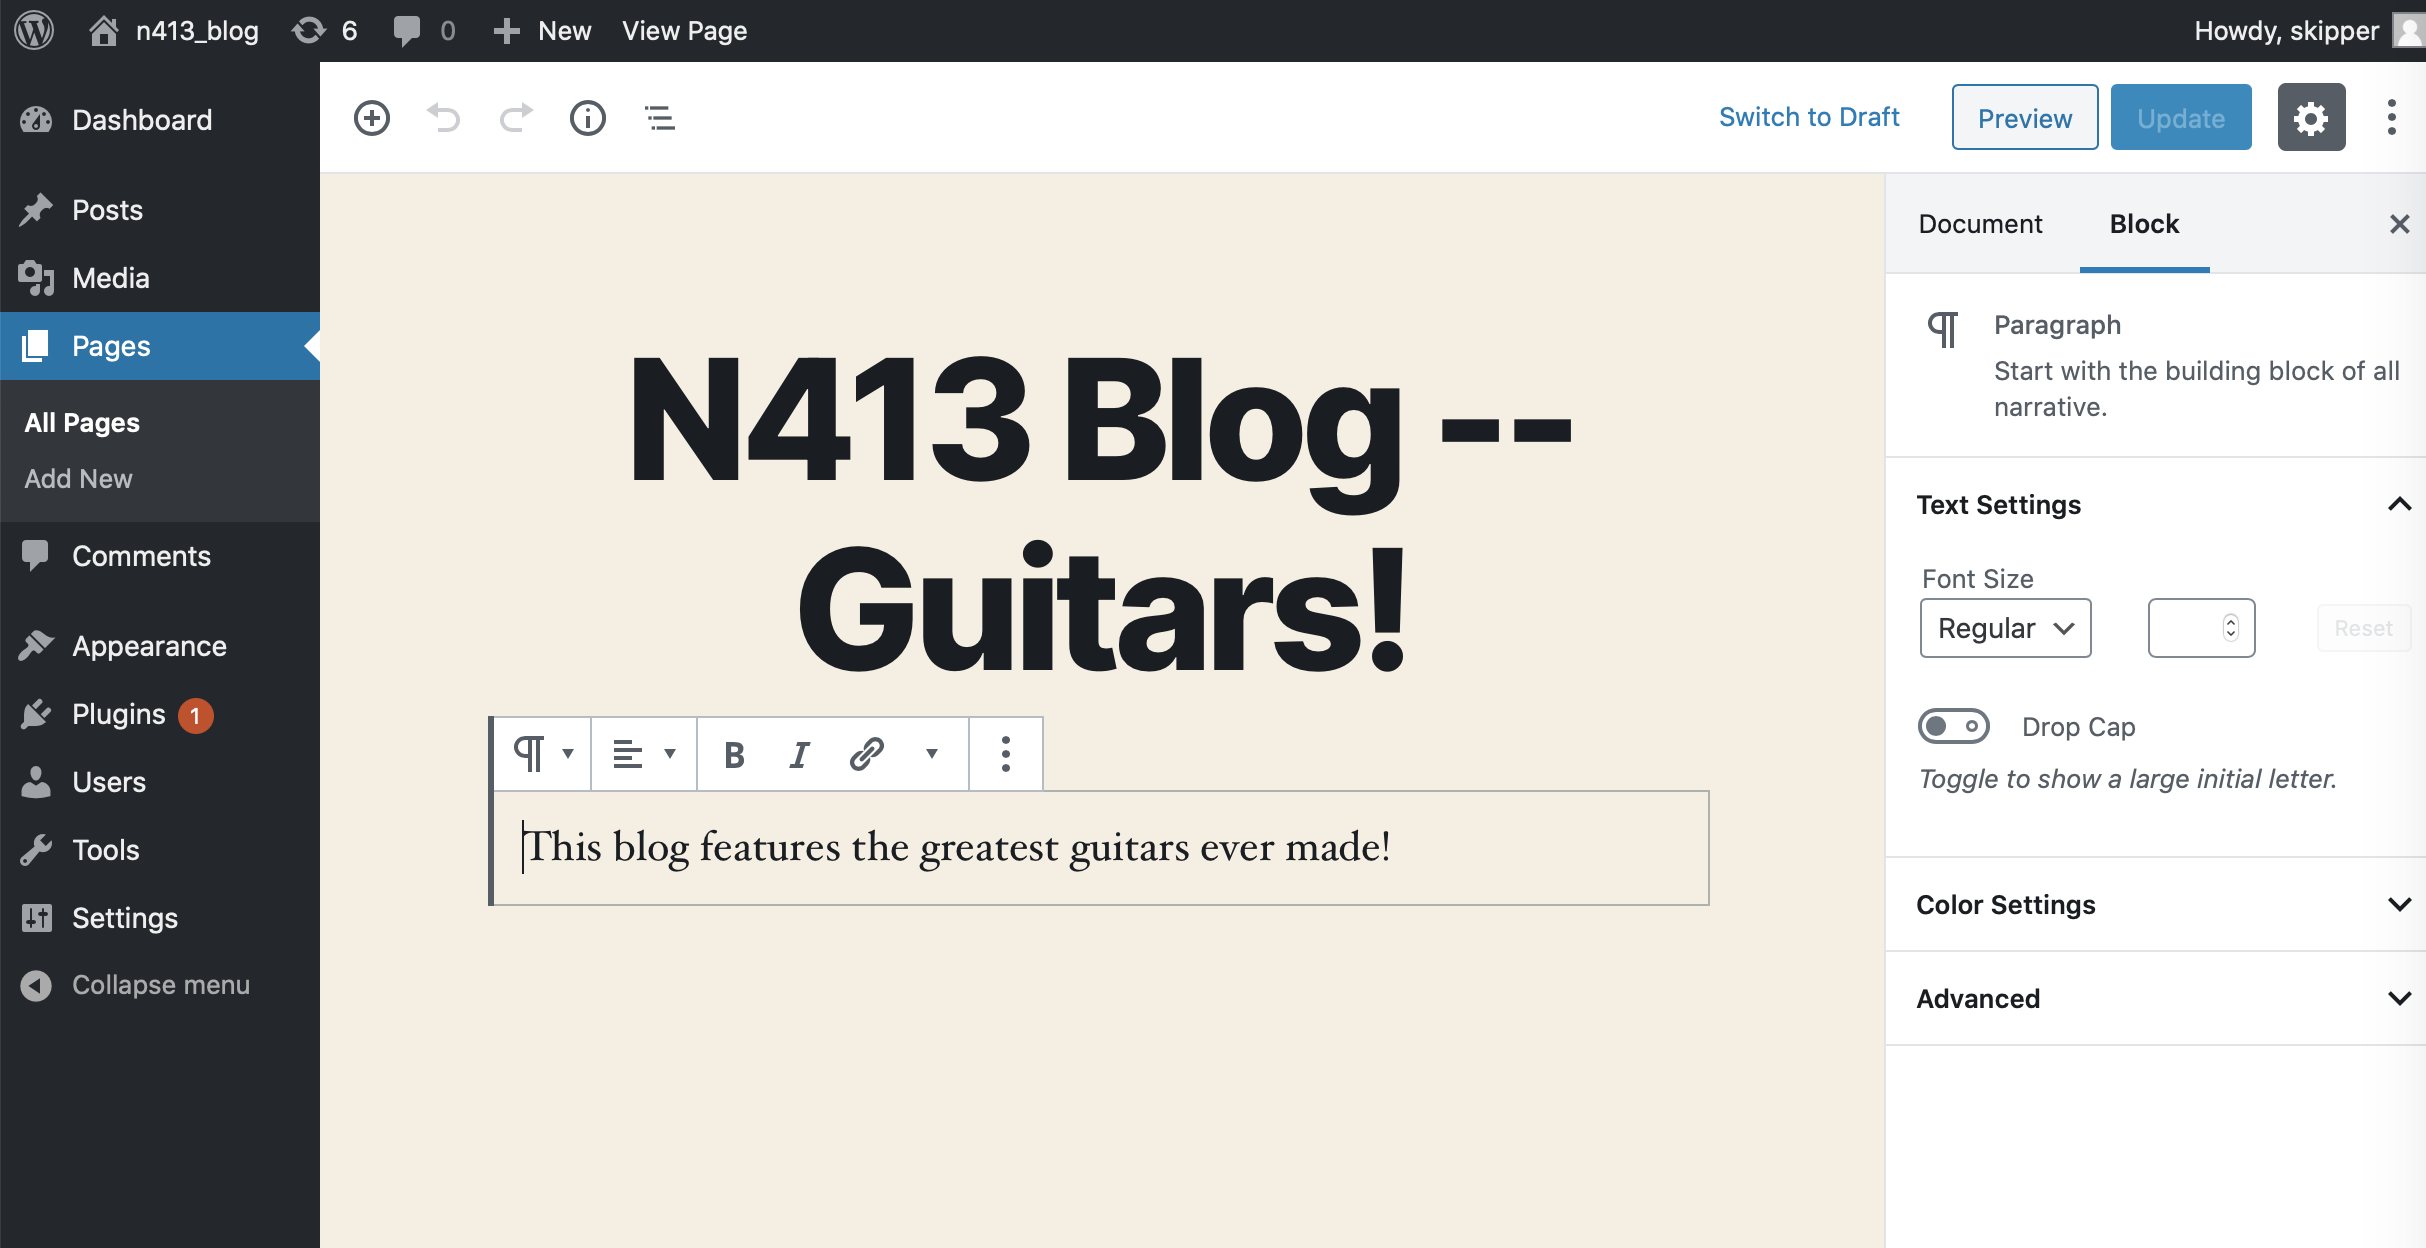
This is the Gutenberg editor. Simply add the headline for your front page and start writing any text you want to appear. You might want to experiment with some of the other block types. Click the small "+" symbol in the editor to get a pop-up window with a few of the more common block types. There are spacers, images and headers. You can also add custom HTML if you want to do something more complex. If you click the "Browse All" option, you will get a panel with all the block types, which include blocks for several types of media, design elements, and other options.
Once you've added your text, click the "Publish" button in the upper right corner. Confirm that you really want to publish with a second click, then look for the "View Page" pop-up link in the lower left of the screen. Click it, and you will see the results of your work.
Once you see that your page is there, click the "Edit Page" link in the top toolbar to keep working. If you've created a few blocks of content, you should notice that you can drag the blocks up and down the page, you can insert new blocks, and you can delete blocks.

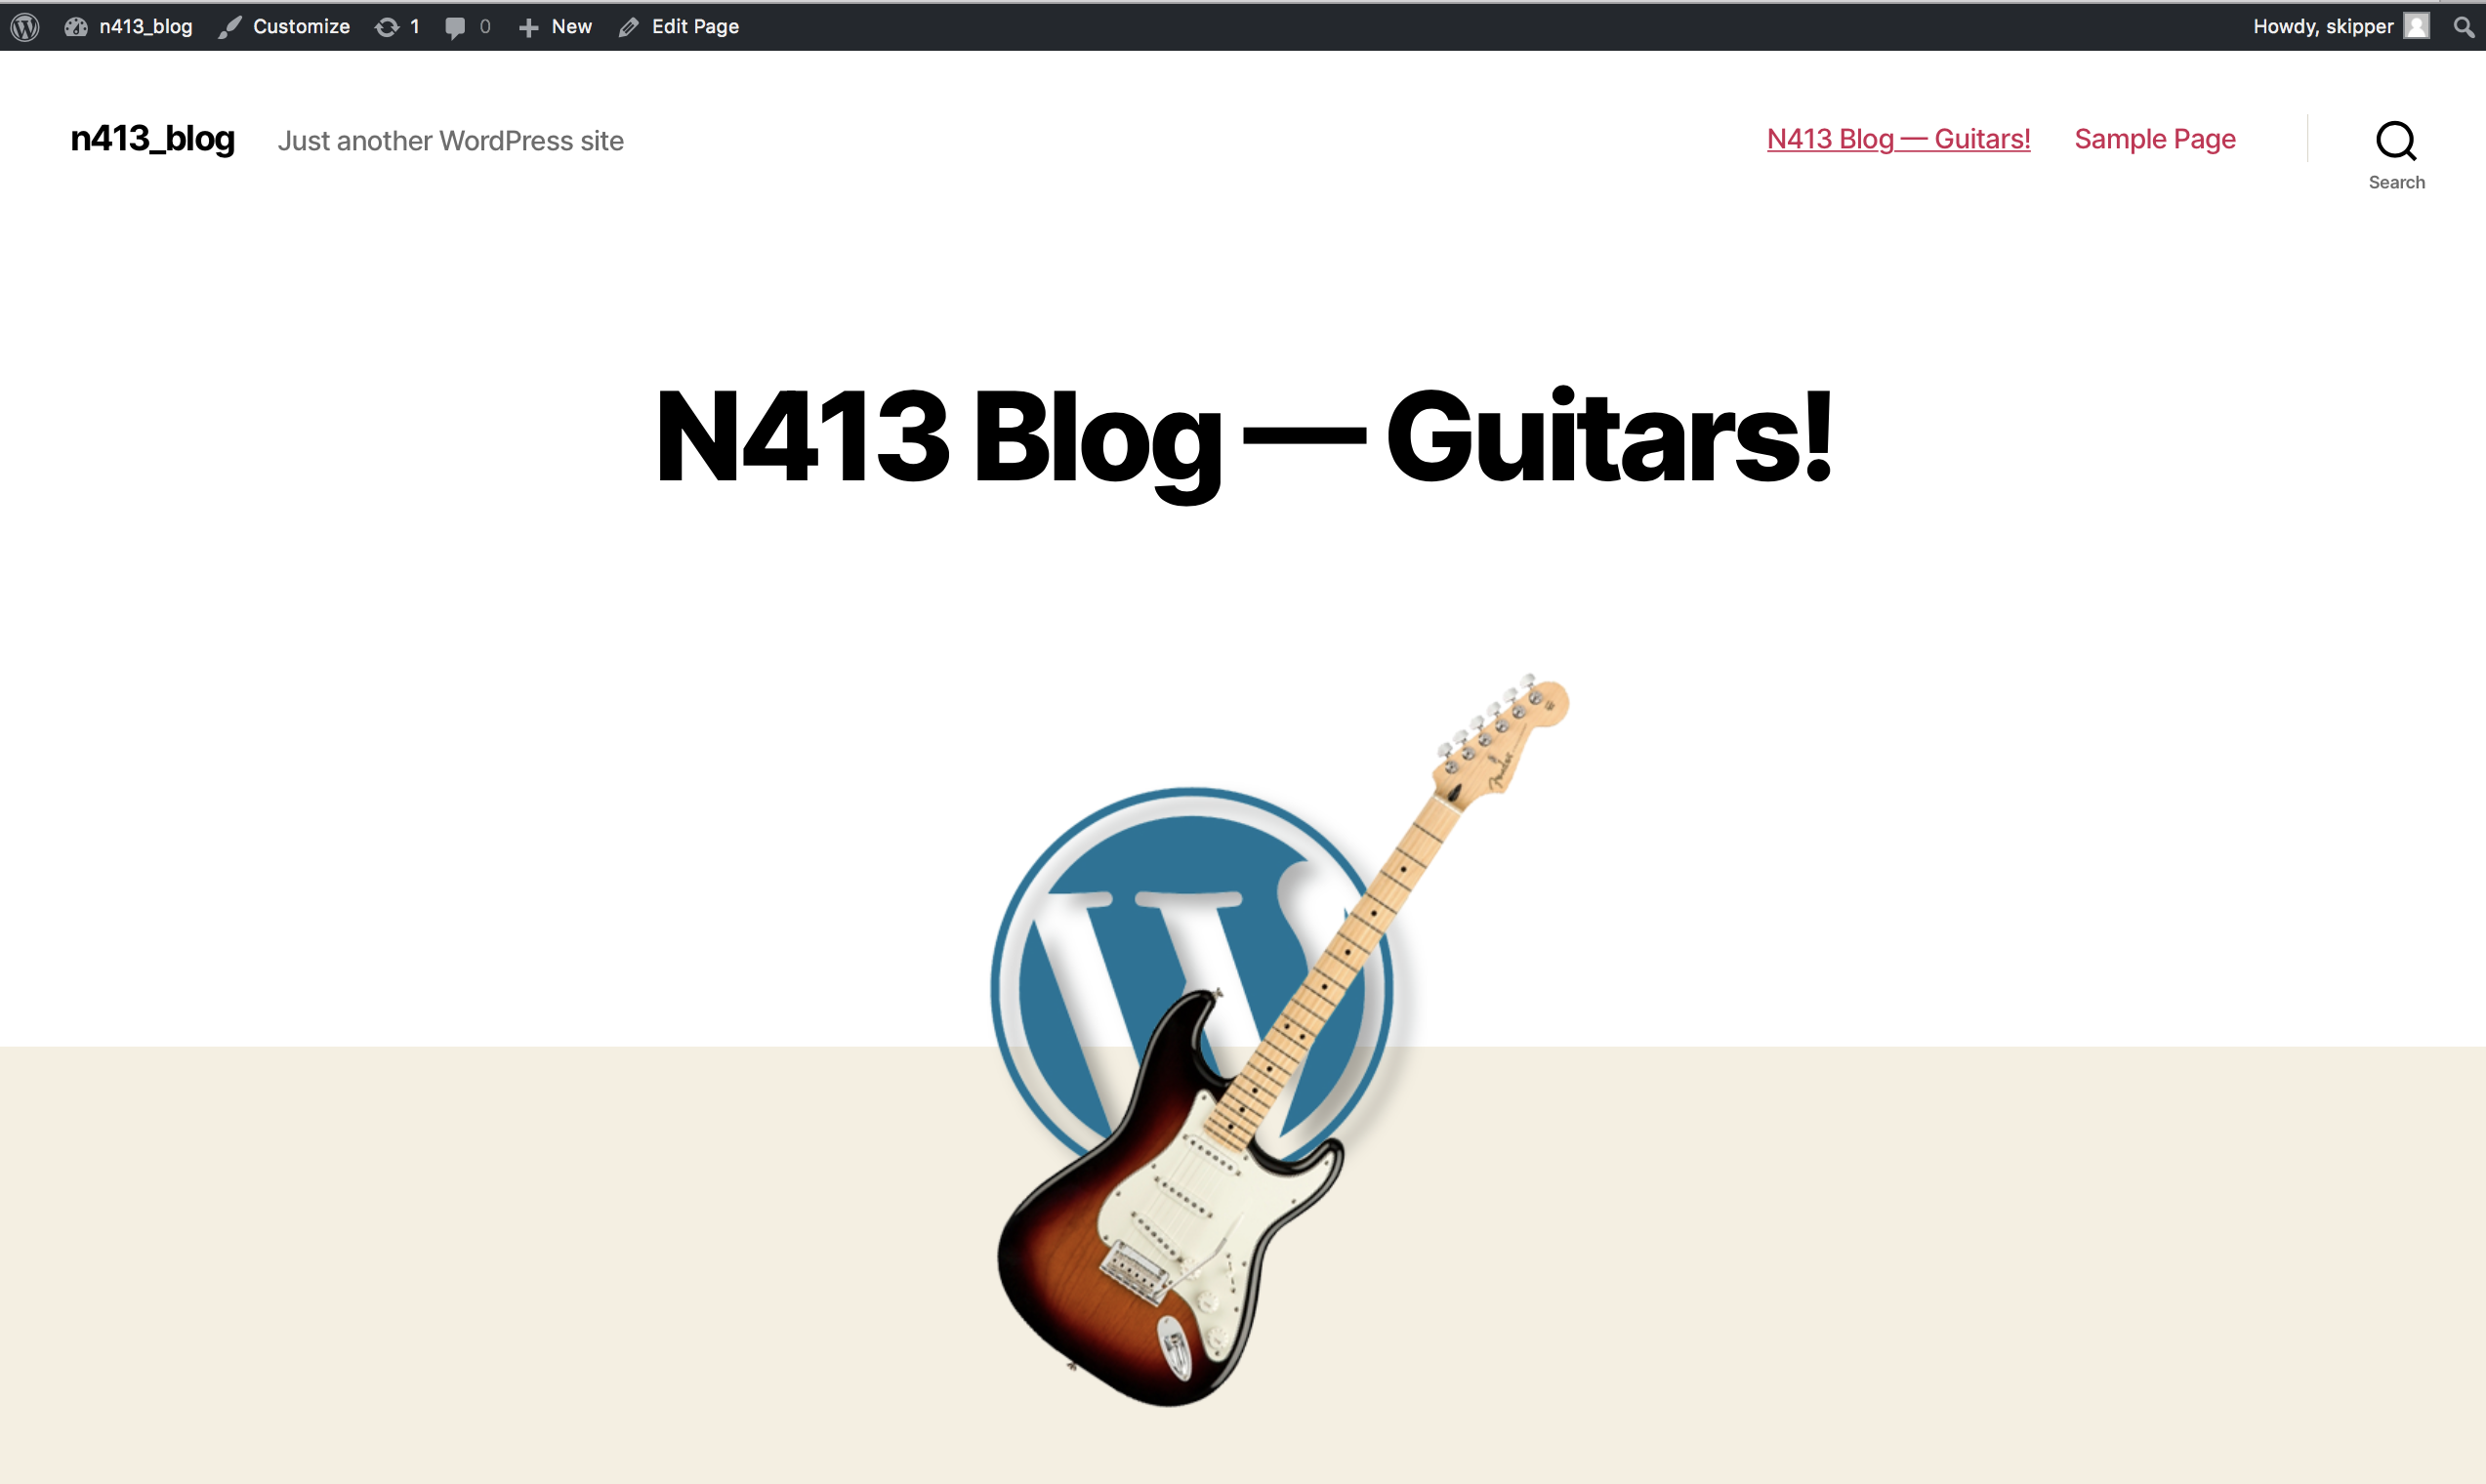
Each theme will render the published page a little differently. The screen shots to the right show the TwentyTwenty theme. Once you have a few elements for your page, you should have a look to see how it renders in a different theme. You access other themes from the Dashboard's Appearance item in the left-side menu. Activating a different theme doesn't change the content, it just loads new template files for drawing your content to the screen.
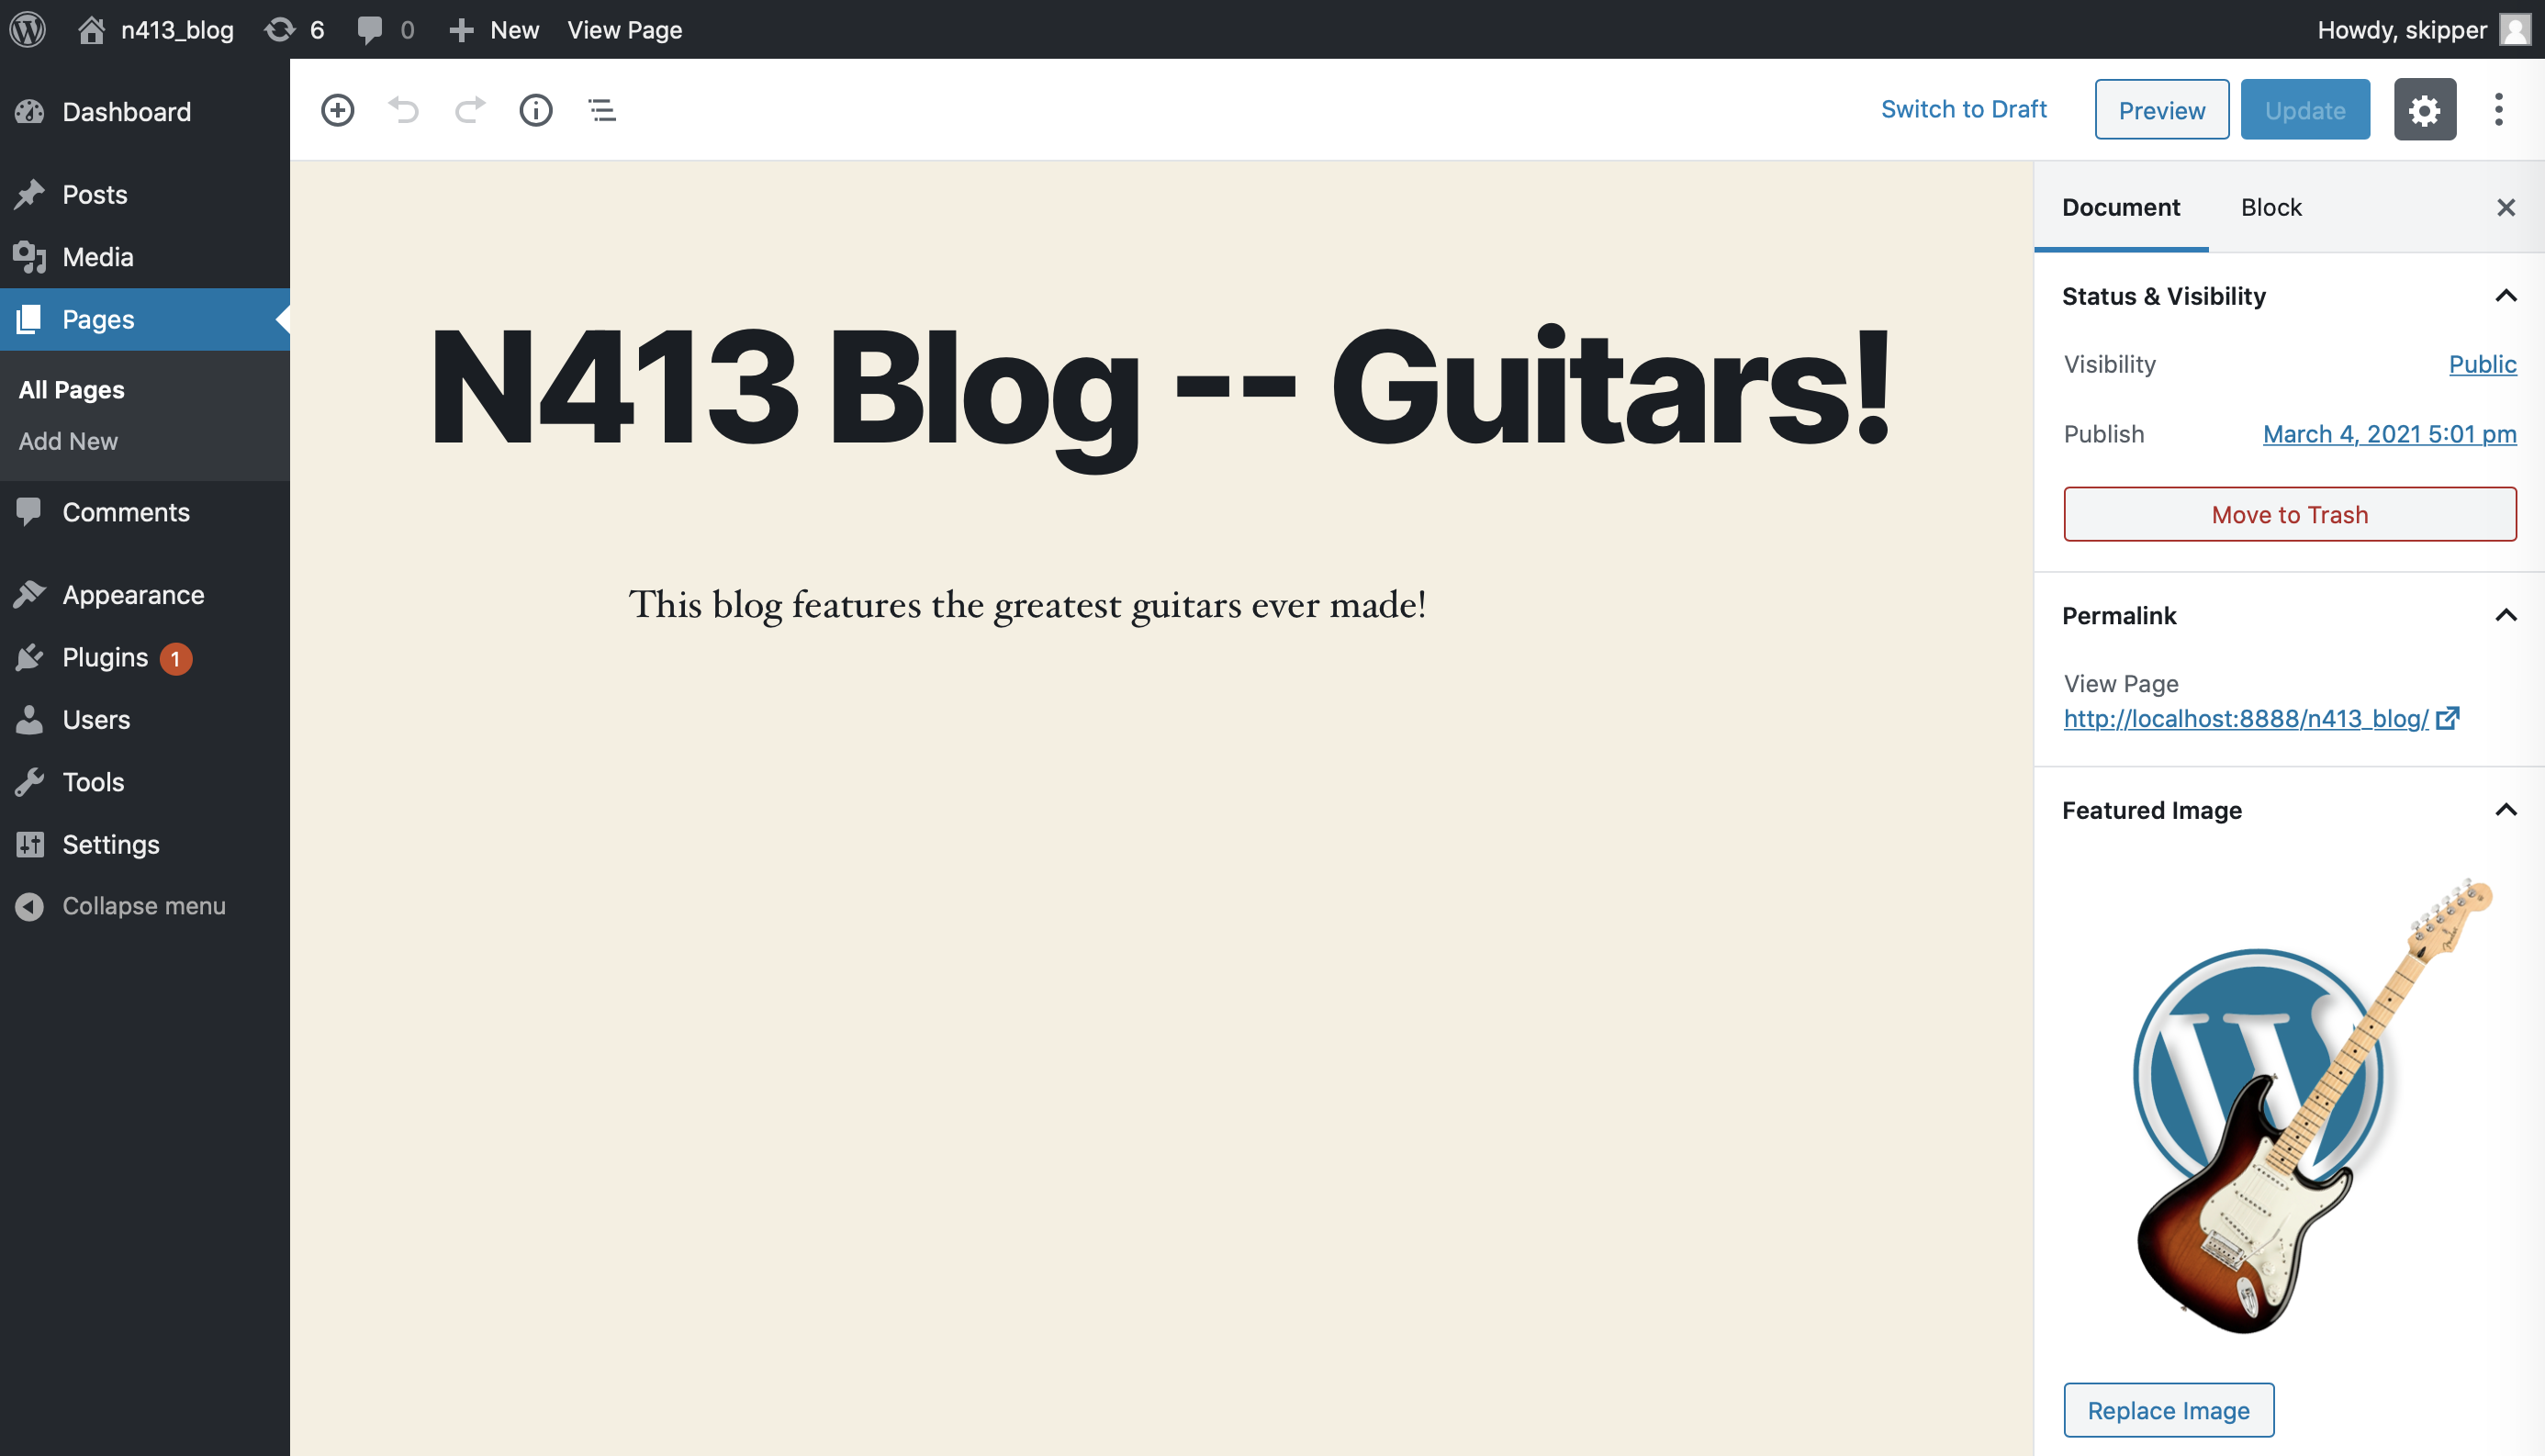
Look at the right side "Settings" menu to set a featured image. (You may need to click the "gear" icon to see the "Settings" menu.) Be sure the top-level selection is set to "Document" (newer WP versions say "Page"), then look down the list for the "Featured Image" section. If it isn't open, click to open, and you should see a "Featured Image" box. Click this to go to the Media Library, where you can set a featured image.
Not all themes will render the Featured Image on the page. If you don't see the Featured Image (sometimes referred to as a "Thumbnail"), you can simply insert an image block with the Gutenberg editor, and add the image that way.
Click the "Update" button in the upper right of the screen, and you will see the pop-up to view the updated page on the lower left. Have a look.
The page is simple, but sufficient for now.
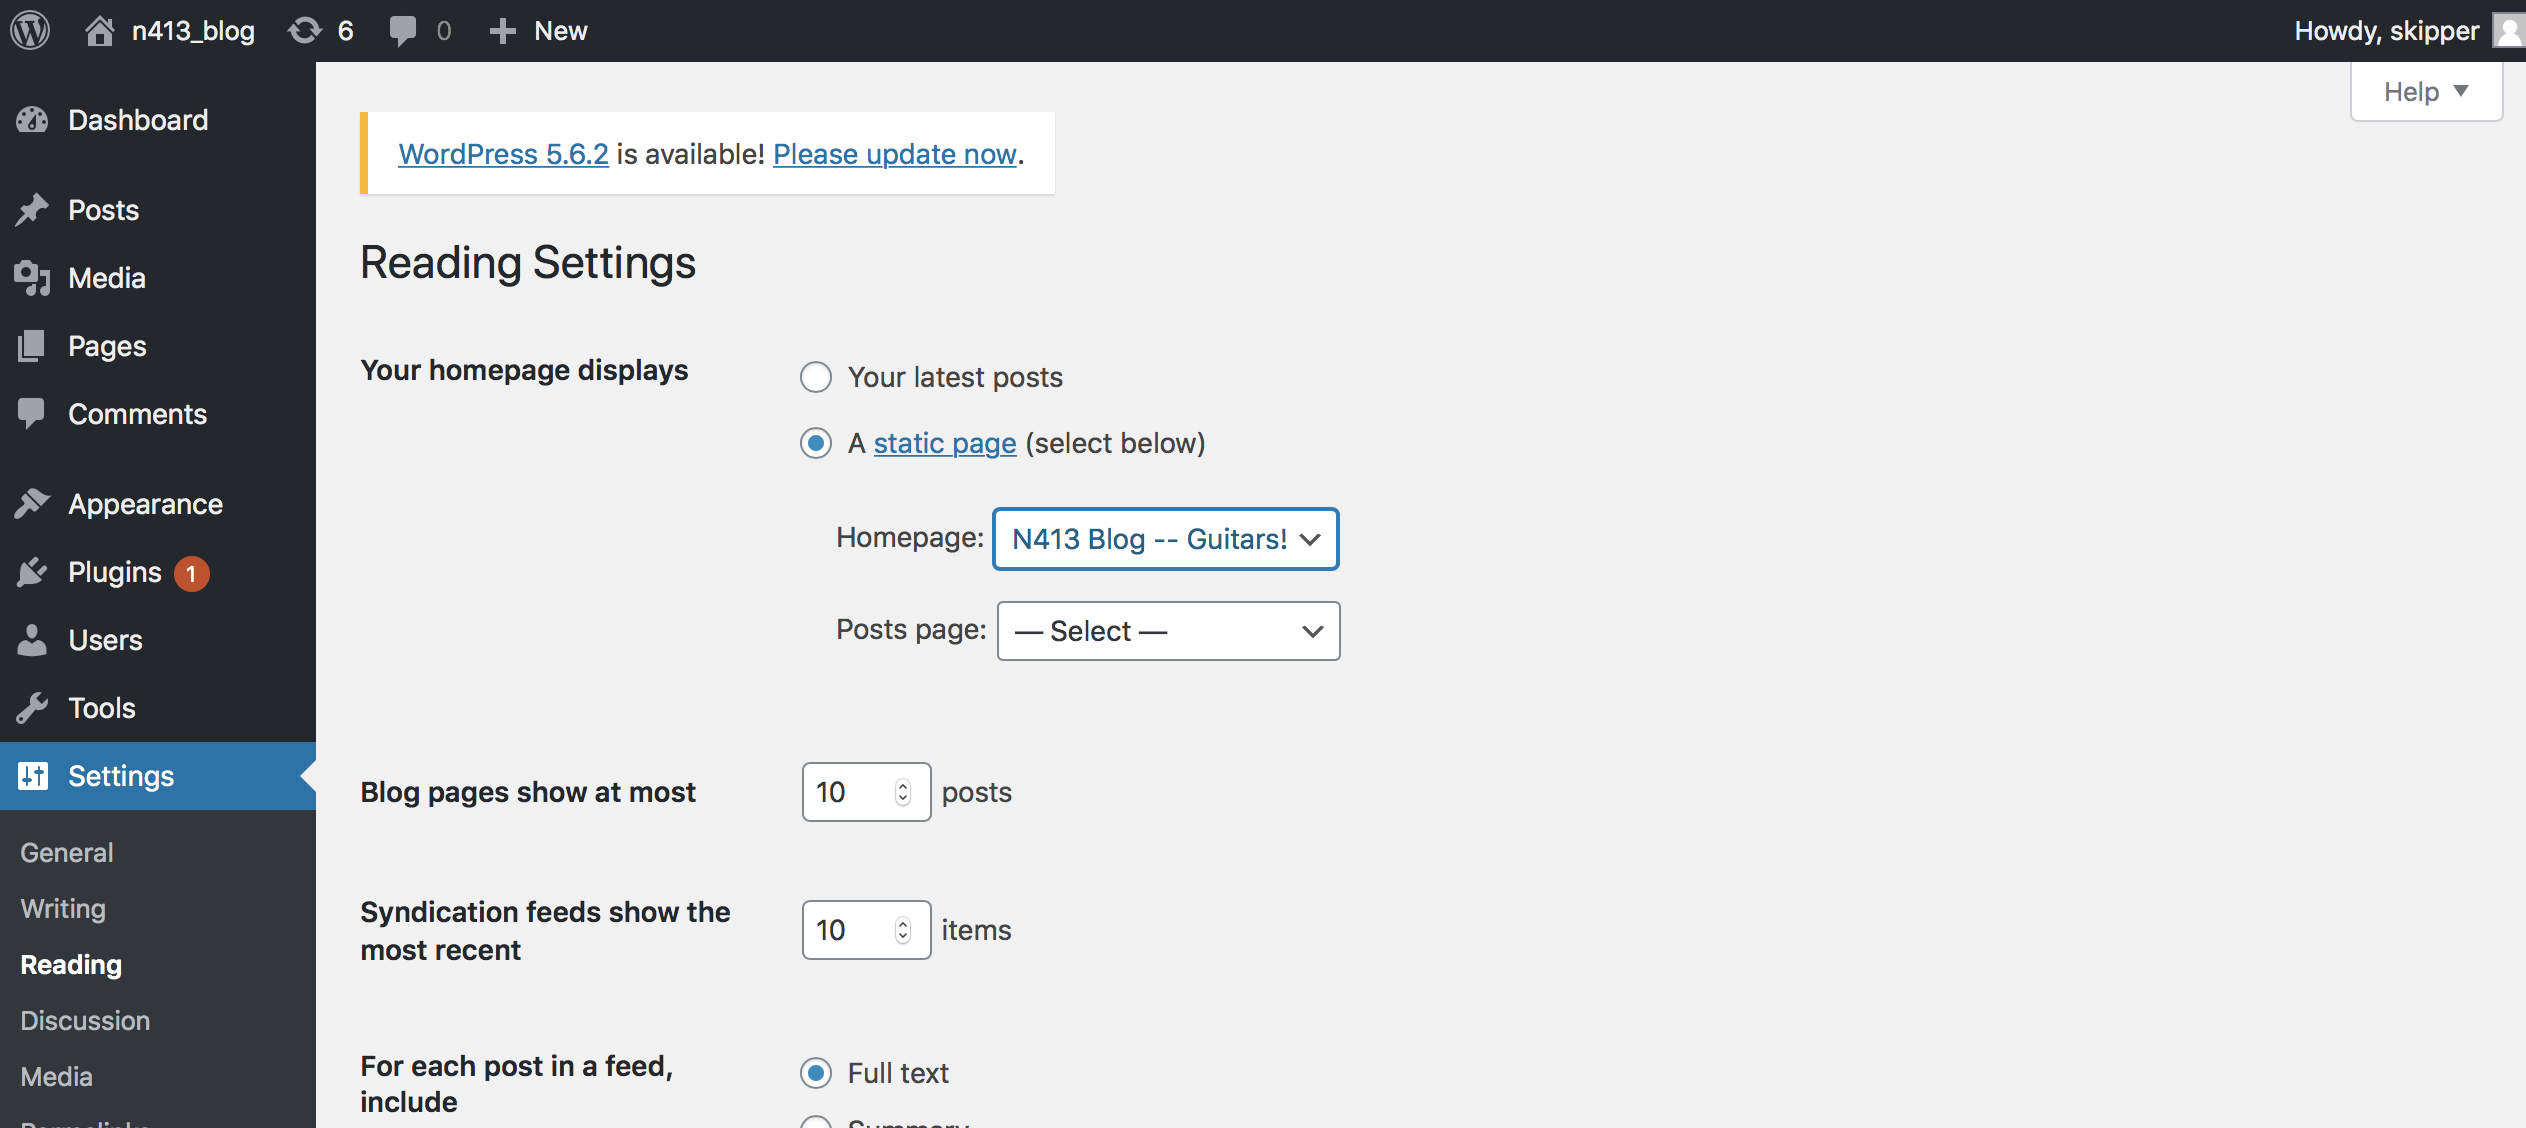
Set the Home Page.The last step is to set this page as the front page of the site. In the Dashboard's left-side menu, go to Settings>Reading. There you will see radio buttons to select what the home page displays. Select "Static Page", then select the page you've just built from the dropdown list for "Homepage". Be sure to click "Save Changes" at the bottom of the page. Click the "Home" link at the upper left of the screen, and you will see your page displayed as the home page.
Congratulations! You now have a working WordPress Blog! If you used the Twenty Twenty theme, the theme has provided all the needed user interface elements to navigate around the site. (Some themes require that you add the UI elements.). You can customize all of these as you learn more, but this is the basic way to get a Wordpress site up and running.