The CHILD will take you through the process of creating a WordPress child theme, a method of customizing a WordPress theme without making changes to the theme itself.
This project has the following steps:
- Either set up a new WordPress site or work with the one you just set up in The BLOG.
- Create a new directory in the wp-content/themes folder.
- Create a CSS file and write the header code to define the child theme.
- Create a functions.php file and create the link back to the parent theme.
- Activate the child theme in the WordPress admin interface.
- Find a style in the original theme and modify it.
Project Set-up. You can continue working with the blog project you just created in The BLOG, or you can start a new site. If you start a new site, I recommend naming it n413_child. The instructions will assume you are using a new project. Set up a new database and do a fresh install of the Wordpress files, as explained in The INSTALL.
Child Theme. WordPress themes provide very powerful ways to format and style content. But no theme will meet all your needs perfectly. Themes are built with PHP code, so you can change them -- but should you?
If you modify a theme directly and you break things... or if you have success just before the new version of the theme comes out, you have trouble. Replacing your theme will wipe out all those changes you made.
And themes are complex pieces of code. Finding what you need to change can be a daunting task.
Child themes are designed to help with all these problems. A child theme is added to the wp-content/themes directory, and is named with the name of the "parent" theme with "-child" appended to the parent theme name. It is a directory that needs at least 3 files:
- index.php (borrowed from the parent theme)
- style.css with a special header comment section.
- functions.php with code to link back to the parent theme's CSS style sheet.
Any styles placed in the child theme's CSS style sheet will override the styles in the parent theme's style sheet. In addition, functions placed in the child theme's functions.php script will take precedence over functions with the same name in the parent theme. Also, template files, page files, and other PHP files placed in the child theme folder will be used instead of the parent theme's files. In this way, any part of the parent theme that needs to be modified can be placed in the child theme without disturbing anything in the parent theme. An added benefit is that the modifications will be persistent, even if the parent theme is updated with a newer version. And any changes that cause problems can be easily undone by removing the child theme style or file that caused the trouble.
First Step. The first step is to create a new folder in the wp-content/themes folder, name it <your-theme-name>-child. Although the "-child" naming convention is not required, this convention reduces confusion later.
Now, copy the index.php file from the parent theme into the child theme folder. In the same folder, create an empty CSS file named style.css and a second empty file named functions.php.
style.css Check the parent theme to be sure the style sheet is named "style.css". Sometimes there are variations (Some versions of the Neve theme use style.min.css). The name must match exactly.
Now, create the style sheet header. The header will be enclosed in CSS comment syntax, and must be the first thing in the style sheet. The header for the twentytwenty theme will look like this:
/*
Theme Name: Twenty Twenty Child
Theme URI: http://www.example.com/
description: >-
  A child theme for Twenty Twenty and the AMPJAM Blog
Author: <your name>
Author URI: http://example.com
Template: twentytwenty
Version: 1.0.0
License: GNU General Public License v2 or later
License URI: http://www.gnu.org/licenses/gpl-2.0.html
Tags: child theme test
Text Domain: twenty-twenty-child
*/
/* Custom CSS goes after this line */
Many of the items in the header are required, but do not have to work (the URLs for example). The important items are:
- Theme Name
- description This appears in the WordPress admin interface.
- Template This provides a pointer to the parent theme, and the name, spelling, spaces, etc., must match.
- Text Domain This is a pointer to translation text strings for multi-lingual WordPress sites.
More information about this can be found in an excellent Smashing Magazine article.
functions.php Open a PHP tag in functions.php and add the following code:
<?php
function enqueue_parent_styles(){
    wp_enqueue_style('parent-style', get_template_directory_uri().'/style.css');
    wp_enqueue_style('child-styles', get_stylesheet_directory_uri().'/style.css');
}
add_action('wp_enqueue_scripts', 'enqueue_parent_styles');
This script will use a WordPress "hook" ('wp_enqueue_scripts') to load the enqueue_parent_styles() function. The function uses a WordPress function, wp_enqueue_style(), to load the parent theme's style sheet. The first argument in the enqueue function is a "handle" that WordPress uses for the style sheet. The second argument is the path to the style sheet. Be sure the name of the parent style sheet is an exact match. Sometimes there are variations in the parent style sheet name. The parent style sheet can be located with 'get_template_directory_uri() because the child theme declaration (in the style.css file) declared the template to be "twentytwenty". Add the child stylesheet using 'get_stylesheet_directory_uri()', which will load the stylesheet for the current active theme.
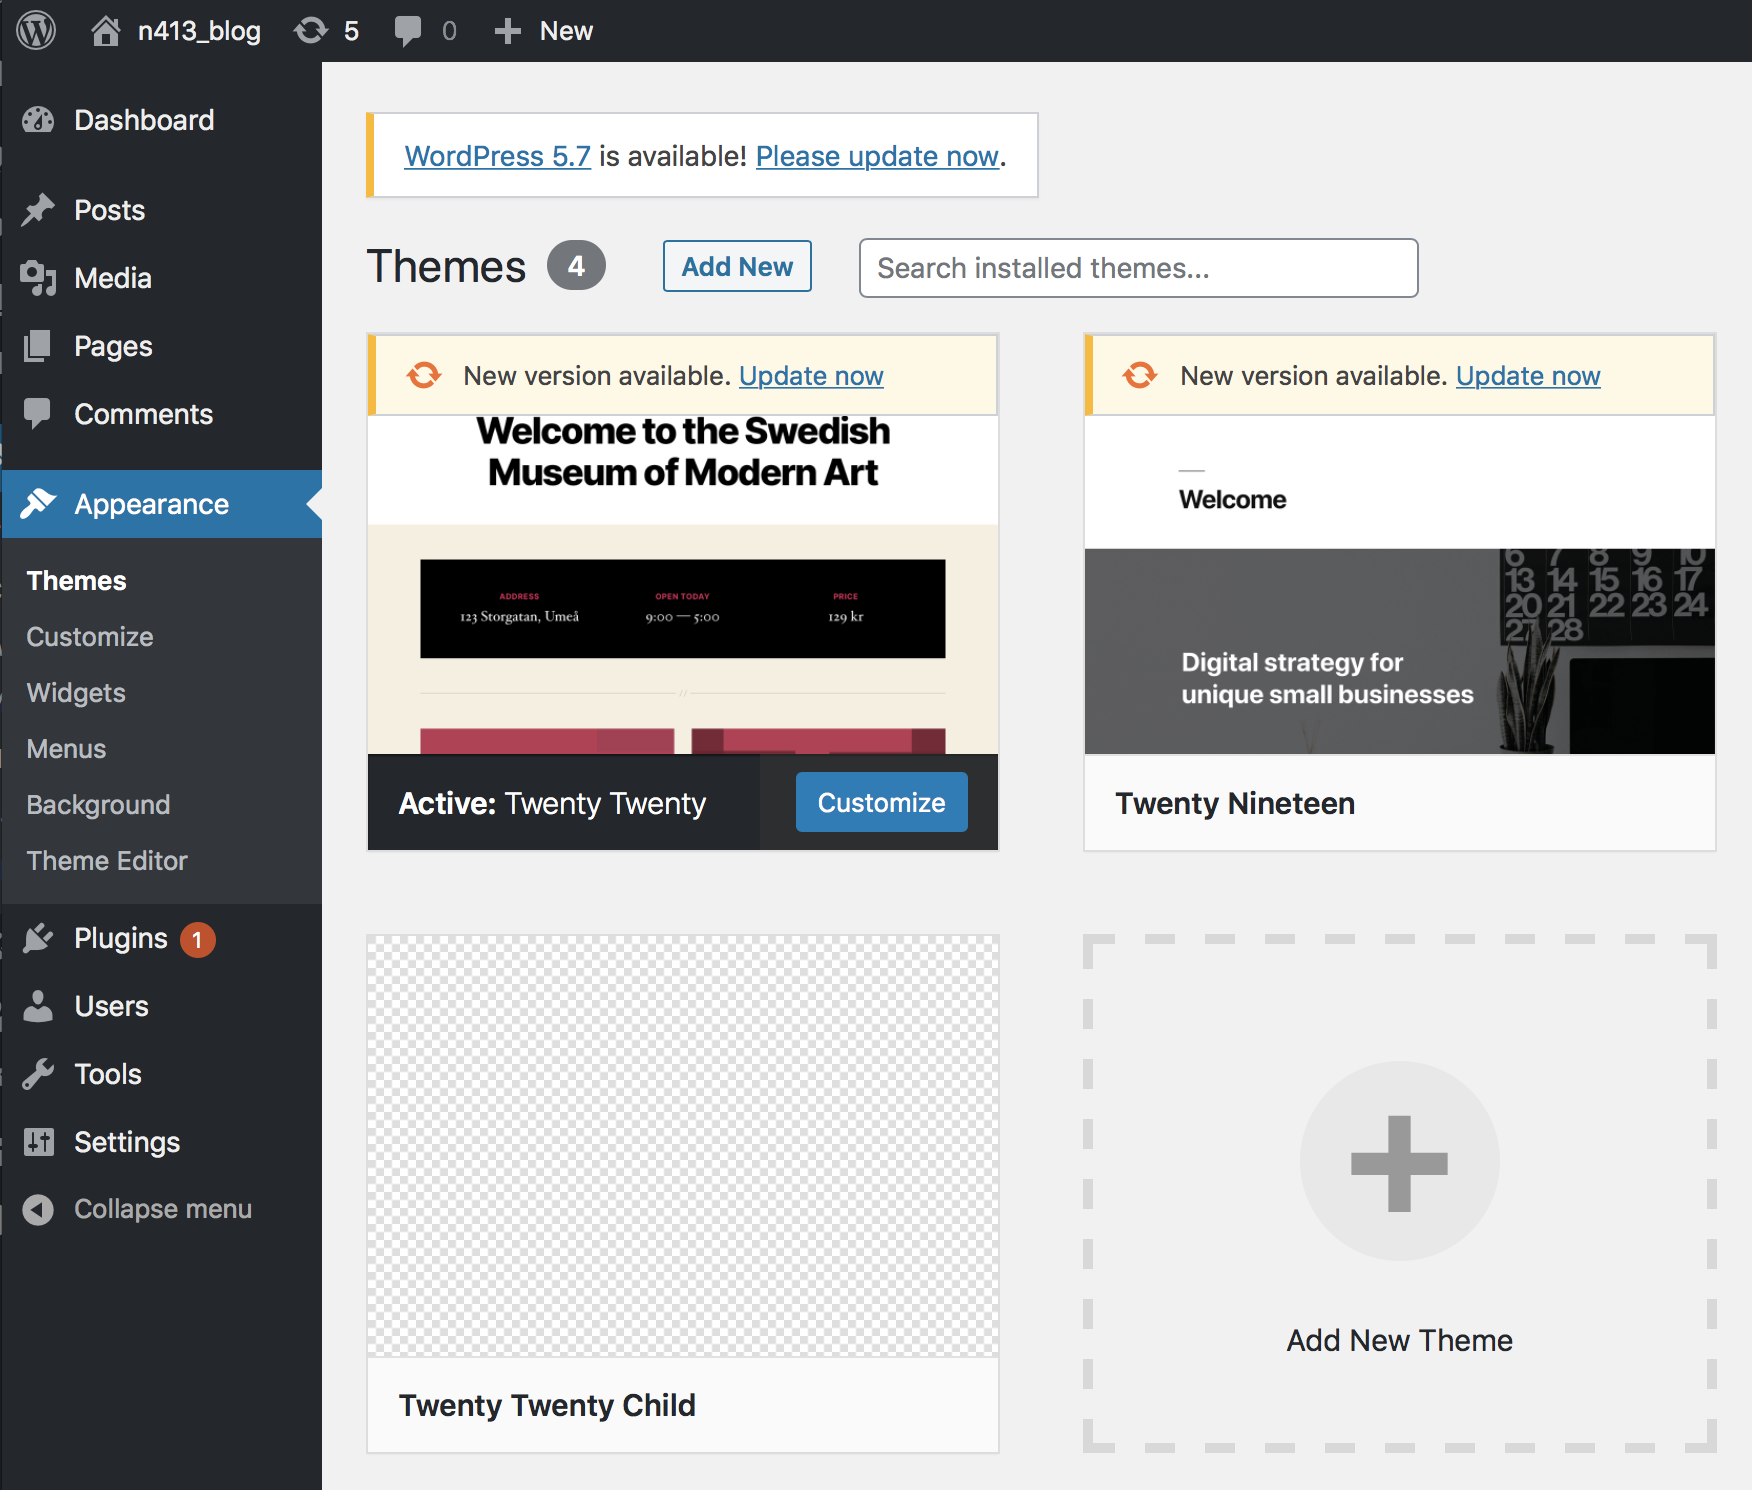
Activate the Child Theme. Log in to the the WordPress dashboard (<your-project-path>/wp-admin) and look down the left-side menu to "Appearance > Themes" You should see your child theme in the theme list. Activate it now.
Make some changes. Now you are ready to make some changes. Use a web inspector to find a class or element ID in your WordPress site. Add some CSS to the child theme style sheet that targets the element and give it a style that will be easy to see.
WordPress is very agressive about caching style sheets, so you may need to clear the browser history or do a "Forced Refresh" before seeing the effects of the change, but you should see the child theme's styles take precedence over the parent theme's style. Adjust the styling as much as you like.
Note: clearing your cache will require you to log in again to the admin desktop, so be sure you have your username and password. An alternative to clearing the cache is to open your site in a private browsing window. If you want to use a forced refresh, the command is option-command-R on Mac, or Ctrl-Shift-R on Windows. WordPress sometimes needs 2-3 forced refreshes to reload the style sheet.
Adding functions. You can add functions to functions.php. The trick here is to use WordPress's "hooks" to trigger the functions. This is one of the more complicated features of WordPress, and requires some knowledge about the sequence of events when WordPress pages load. However, if you have some idea of what you want to do, you can generally do a Google search and get a good link to the section of the WordPress Codex that will tell you what hook to use for triggering your function.
Some common functions you might want to add would include:
- Short Codes: Short codes are used to insert PHP functionality into posts and pages. You can't use PHP in the content you create in the editor (even if you add custom HTML). However, you can add a short code. A short code is a small text label surrounded by square brackets, like this: [site_url]. A function in functions.php defines the short code and which PHP function is used:
add_shortcode( 'site_url', 'site_url' );
This function defines 'site_url' as a short code, which calls the WordPress function 'site_url()'. If you use the site_url short code in your links, things don't break when you move your site. - WordPress filters and functions: WordPress has a rich eco-system of filters and functions that do every imaginable thing. For example, to set the length of an "excerpt" (the short descriptive text blurb in a link to a post), use this filter:
add_filter('excerpt_length', function(){return 30;}, 998);This will set the string length of the excerpt to 30, with a priority level of 998 (very high). - AJAX calls: If your Javascript function needs to make an AJAX call, the PHP script that handles AJAX will be in functions.php.
- Custom Post Types, Sidebars, Widgets, Menus: Various WordPress structures and special features are defined and "registered" in functions.php.
You might ask how you would know how to do these things? The answer is, if you have a need, go to Google to look for the solution. Include "wordpress" in the search term, and you will find pages of search results with solutions for your problem.
Child Theme PHP Templates. One of the more useful ways to employ a child theme is to replace file templates used by WordPress for rendering posts and pages. Individual posts are usually rendered by a WordPress theme file named single.php. You can change the way single posts are drawn by editing single.php and placing it in your child theme folder.
You can change the way a specific post is rendered by including its "slug" in the template's file name. single-my-special-post.php will be used to do a special rendering of the post with the slug "my-special-post".
There are many other files like this that can be modified the same way to draw category listings, search pages, and much more. See the section on "Template Hierarchy" (The HIERARCHY) for more information about this.