Prepared by: Hasaranga Jayathilake & Supraja Pericherla
In the COMET lab, using GitHub for tracking the project activities assigned to each member may help to give real-world hands-on exposure to each member on how computer-based projects are managed in the industry. This webpage explains how to utilize the project management functions of GitHub for lab operations on managing the project.
For a detailed understanding of the features that are available for you on GitHub to optimise your work please read the instruction manual that has been documented from GitHub using this link: Planning and tracking with Projects
Create a Repository for the Project.
- If you already have a project repository, you do not need to create a new one.
- To create a new repository, please follow the instructions in this link.
Create a Project for a Repository.
- Navigate to the repository that you are a member of.
- Click on the “Projects” ribbon at the top of the page. (1)

- Click on the “Link a project” button. (2)
- Type the name of the project you are assigned to and check if it is available.
- If the project is found, select it, and connect it to your repository.
- If the project is not found, please follow the below steps to create a new one.
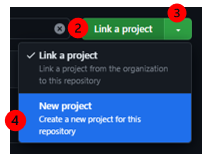
- Click on the Arrow button to open the drop-down menu. (3)
- Open the drop-down menu and choose the “New project” option. (4)
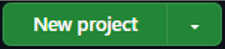
- This will change the “Link a project” button to “New project“.
- Click on the “New project” button to proceed.
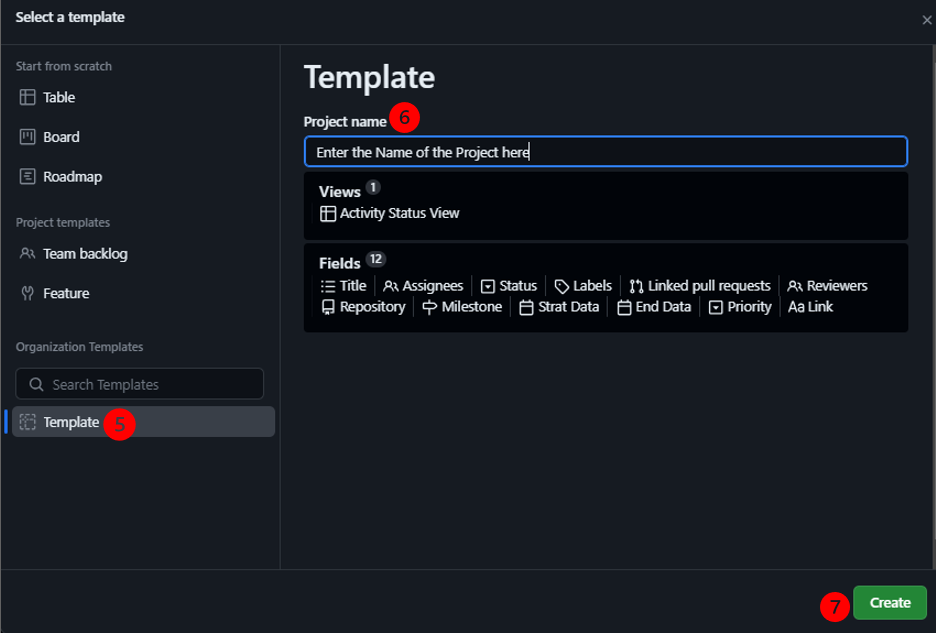
- Then pop up the new window with the title “Select a template“.
- In the new window, select the “Template” button in the bottom left corner. (5)
- Enter the project name in the text box. (6)
- Click the “Create” button to create the project. (7)
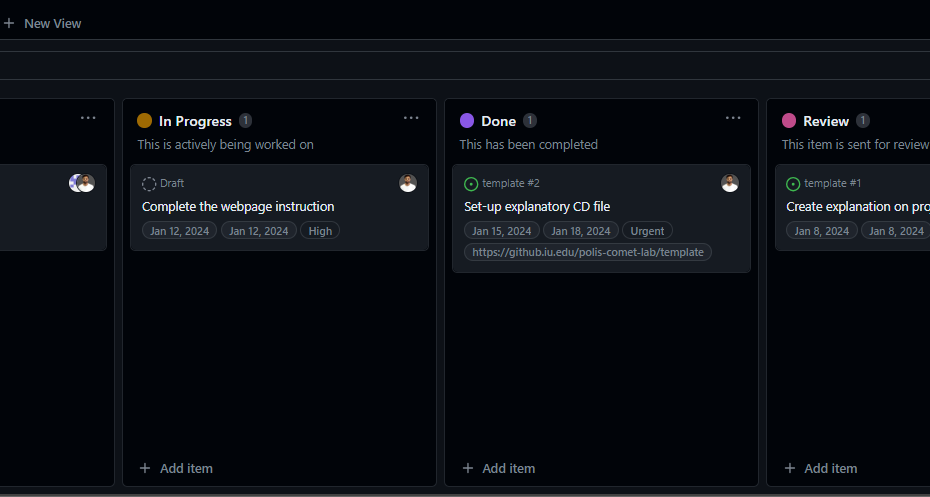
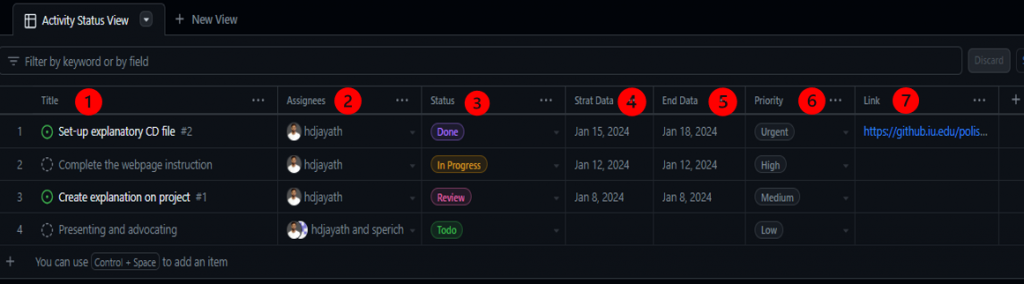
- The following headings will appear under your project in the “Activity Status View” window.
- This window allows you to delegate activities to each project member and monitor their progress.
- This window also enables you to communicate with other project members and supervisors effectively.
- Title: The specific tasks that need to be done for the project. (1)
- Assignees: The team members who oversee each task. You can add more than one person per task. (2)
- Status: The current progress of the task. You should update this regularly and choose one of the four options from the drop-down menu. (3)
- Start Date: The planned date to begin the task. (4)
- End Date: The expected date to finish the task. (5)
- Priority: The importance of the task for the project. You should adjust this as needed and select one of the four options from the drop-down menu. (6)
- Link: The URL of the task if it is available online. You can leave this blank if there is no link. (7)
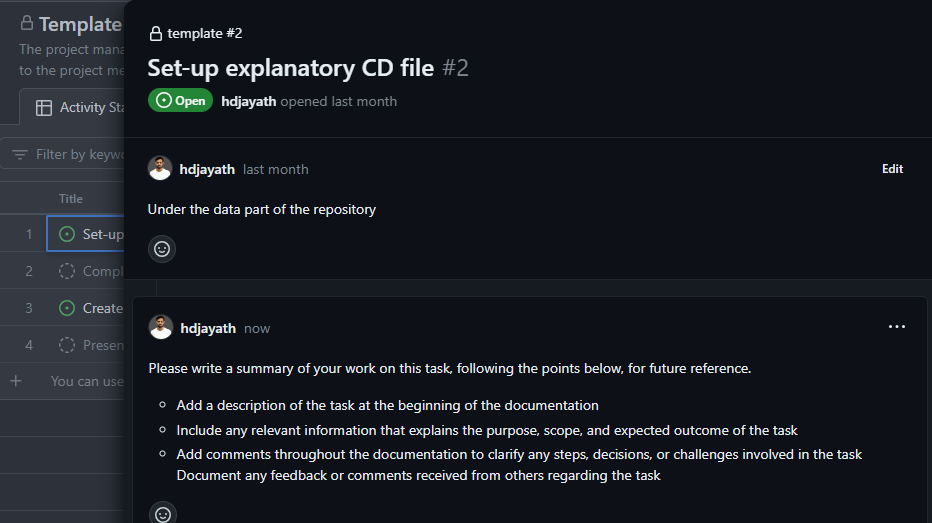
For each task, please explain the format below. You can click on the title of each task to open a window where you can add a brief description under the comments of how you completed that specific task for future reference.